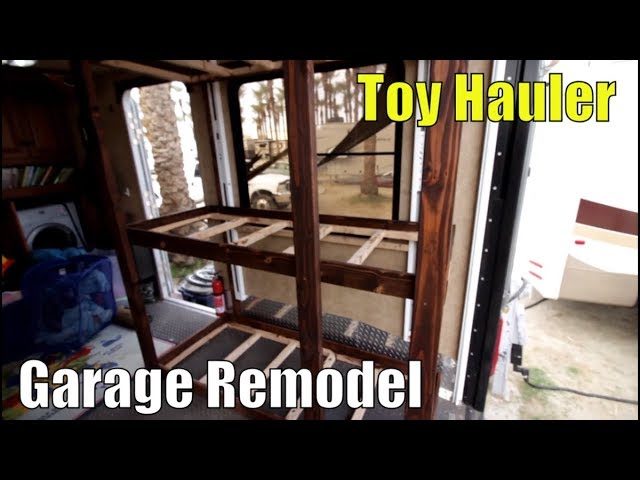
Toy Hauler 5th wheels are the most versatile RVs out there, especially if you want to be off the grid. But that comes at a price, and they are not very cozy and livable. We decided to convert the garage into a bunk room for 3 of our kids!
What did we start with?
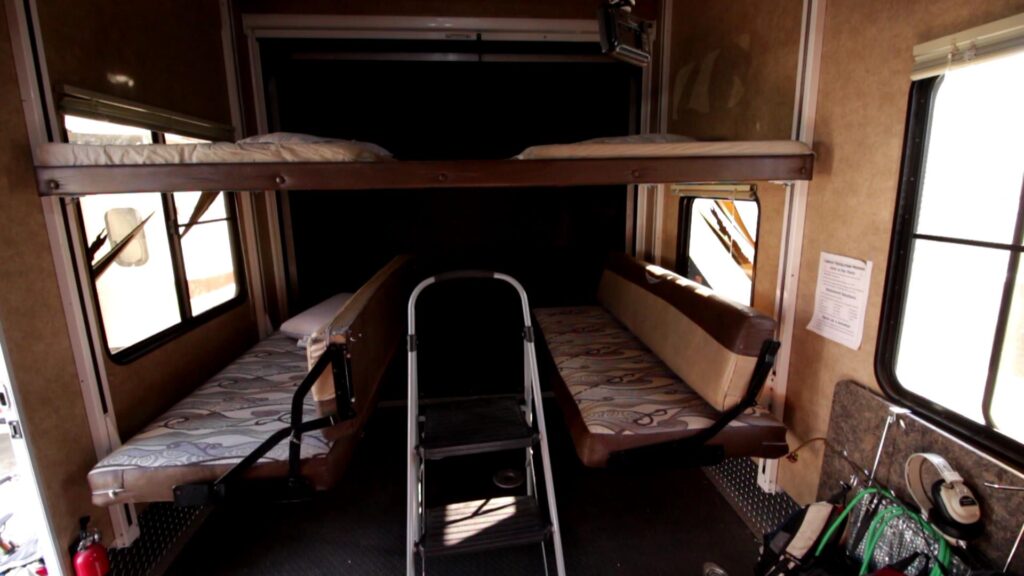
Do you know what Johnny beds are? Not sure if that’s a technical term, but that’s what they are commonly called. Toy Haulers typically come with these motorized beds that can be lowered down or raised up to make room for toys in the garage. They come in a variety of different configurations. Ours was a queen bed on the top and 2 benches that could fold down into a second queen-size bed on the bottom with a removable table in the middle. We originally stuck with this because we had delusions that we would raise and lower them often, giving the boys a larger space to play. What ended up happening is we stashed totes under the benches; we would have to remove everything from the bottom beds to raise them up, so you could say it became a hassle, and it didn’t happen very often. We really wanted to open up some of the floor space for the boys to have room to play, but it just wasn’t happening that way. So I decided to build bunks in the garage for them.
What’s the plan?
I did a bunch of Google and Pinterest searches and found some things I liked, but nothing that really stood out, especially for 3 bunks. There were a lot of 2-bunk setups, but not many 3, especially not many in an RV.
During the planning stages, one thing that was important to Harmony was that the boys have enough room to sit up. They sit up a lot to read, so she did NOT want their space to shrink. With that in mind, I measured a bunch of times and came to the conclusion that I could accommodate that need, and still make better use of the space. In my original planning for this project, I had ideas of under-bed storage and a bunch of other Hacks to make them more functional and comfortable, but in the end, because of the sitting-up requirement, I ended up going very simple.
In keeping it simple, it would also keep it budget-friendly. We really wanted to reuse as much of what was already in there as possible for the build. We would reuse the boys’ foam mattresses for sure; they would just need to be cut down to size a little bit. Once we got the old beds out, we disassembled the top bunk and used the panels for the undersides of the new beds. The panels had the same color and texture as the walls, so it gave it a more original look. Unfortunately, they glued a styrofoam board to the panels, we made a huge mess, and ended up damaging much of it. So I didn’t get to use as much as I would have liked to, but made due with what we had.
Materials
The main structure would be made using 3 different-sized boards:
- 2×4 for the vertical supports
- 2×2 for the bed frames and the wall support
- 1×4 surrounding the beds, and for the ladder rungs
- Panel boards across the top and bottom of the beds.
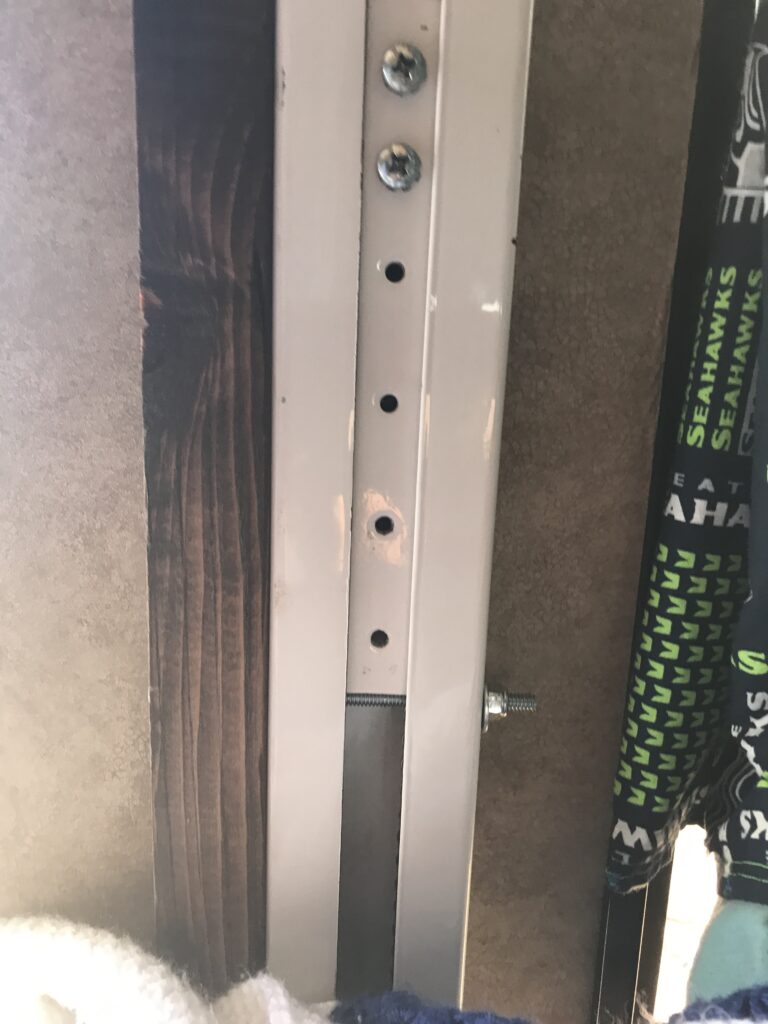
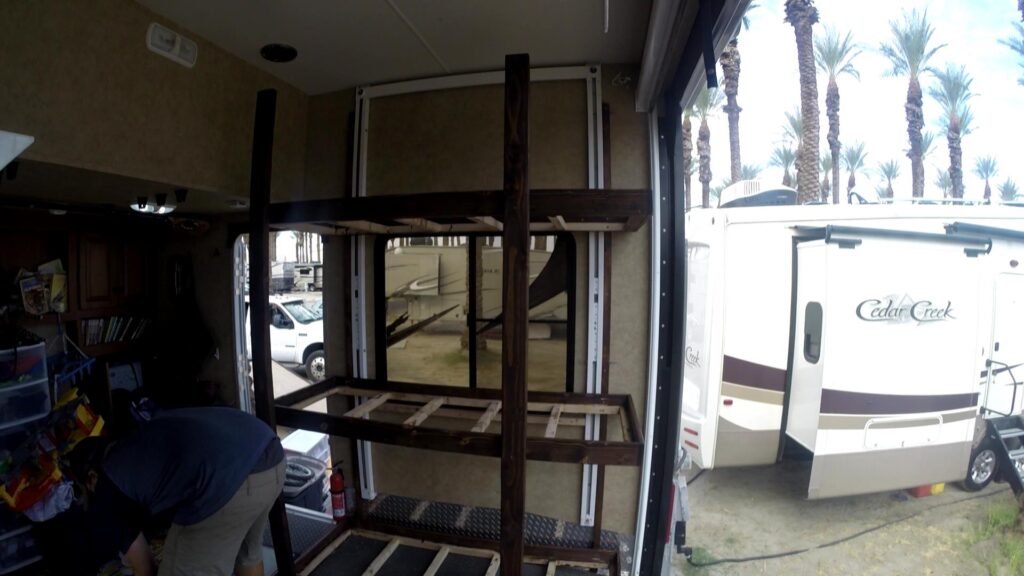
Securing the new bunks was the most important step. I didn’t want to shoot a couple of screws into the wall and call it good, as RV walls are not very thick and don’t contain many studs. The last thing we wanted was for the beds to go tumbling over while being towed and damage the walls or anything else. I decided to use the metal tracks that run vertically, originally used for the motorized Johnny Beds. They included 2 heavy-duty metal tracks that go up and down both sides of the garage. They are roughly the size of a 2×4, very heavy-duty, and already screwed into the walls of the RV. I would assume that they are fastened to part of the RV’s structure already, so that’s where I would attach my beds to.
I ran 2x2s up the length of the metal rails, drilled 2 holes on each across, and then used 5” x ¼” bolts with lock nuts to secure them to the rails. In addition, I screwed the 2×2 to the wall. I had my support system!
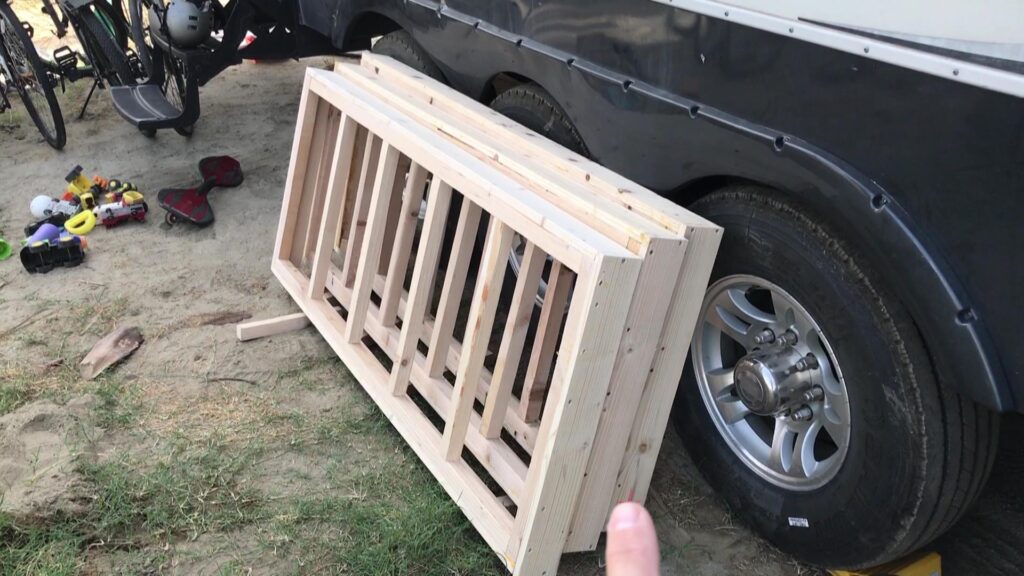
The next step was to build 3 identical bed frames. These were basic 2×2 constructions with 1×4 going around the outside perimeter to contain the mattress.
RVs are rarely made with stained solid wood, unless you’re buying high-end. So most of the wood is just particle board with paper covering that looks like a wood finish. I took a piece of the paper with me to Home Depot in an effort to try to match some stain. I held it up against all the different stains they had and brought home what I thought was a good match. It did NOT end up matching, but it was good enough! I drilled pilot holes and stained the bed frames and all the random pieces I was going to use. The wood I was using was pretty soft, so I applied several layers of the stain to get it dark.
Next was assembly! I mounted the top bed frame first, the bottom second, and the middle last. It went together very easily. Before I locked down any ladder ideas, I had the boys climb up a couple of times and made the rungs in places that made sense for them. I borrowed a pneumatic staple gun from my neighbor and attached the panels on the bottom to cover the frames.
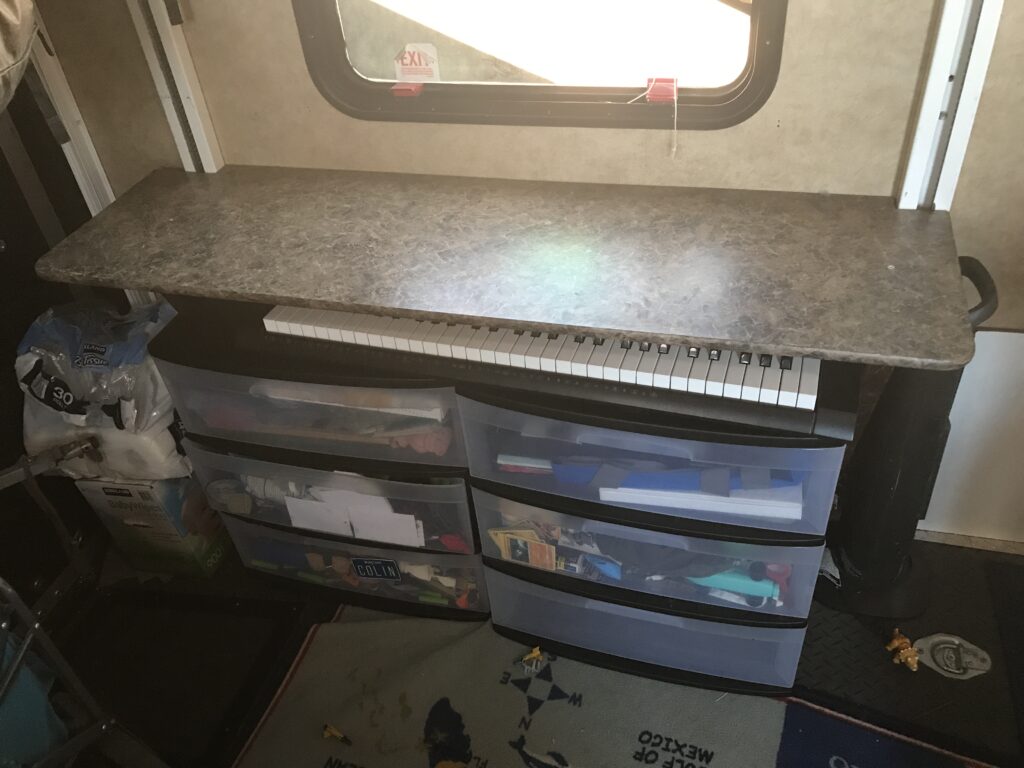
Now the dilemma, we lost a bunch of storage! We had put 4 totes under each bench before, and now that space was gone. Those totes were filled mostly with the boy’s toys, and some other things. Again, we went budget, and got plastic Sterlite drawers to replace the totes for some of the toys. I took the original table that was back there, cut it in half, and built a counter that covered the plastic drawers, with just enough room under it to store our keyboard. That solved some of the missing storage, but we still had a few totes that needed homes before they started taking up the floor space we were trying to gain.
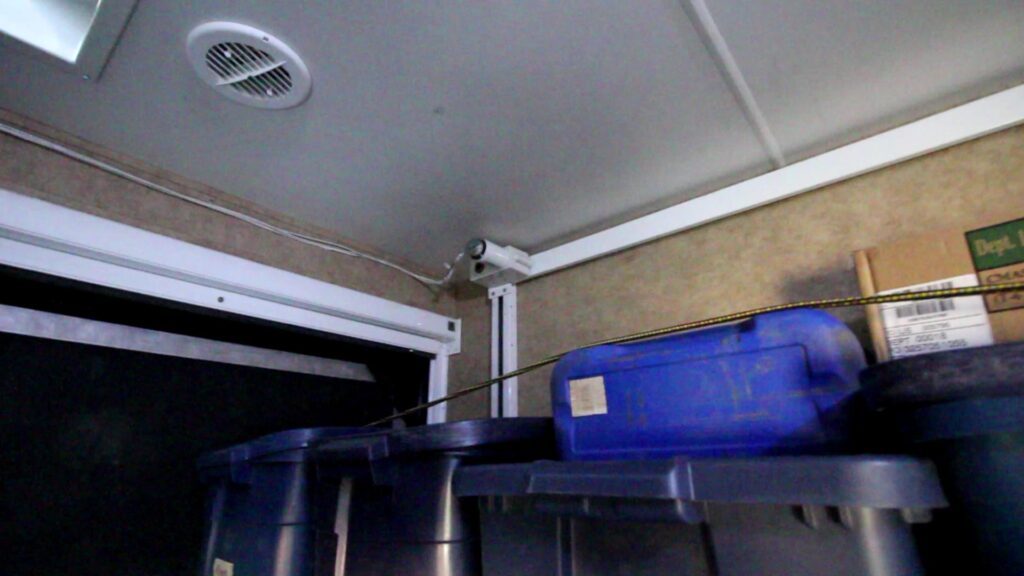
There was a ton of empty space above my new counter, so I concocted a plan to make a storage shelf there. The Johnny bed benches had pretty heavy-duty frames, so I decided to use the hardware for one of the benches and the Johnny Bed motor system. Originally, there was an electric motor above the end of the bunk beds and a bar that went from one side to the other to synchronize the Johnny bed elevator system. I removed the bar and moved the motor from that side to the other and extended the wiring. Now I had a motorized platform that worked with the original switch. I took some 1×4 boards and made a platform across that would accommodate 5 of the Rubbermaid totes we use.
I stained them all to match the beds and added an elastic cord to keep the totes secured while driving. It really couldn’t have worked out better; the platform holds a lot of storage, and motorizes up the wall out of the way.
The tool boxes in the floor at the rear of the garage have heavy doors that open to the back, so I turned them around so the boys could keep their balls, bats, lacrosse sticks, etc, in them, and still be able to get into it without getting hurt. Those doors are very heavy. Instead of carpeting the room, we have a few rugs that we put down, which makes it easier to clean.
Total cost for the build: $189.93
Lumber – $91.07
Screws & Hardware – $32.37
Stain – $17.94
Sterlite Drawers – $37.96
Wiring – $13.65
*I did buy some sand paper, and a blade for a saw to complete the work that I did not factor into the costs. Ft+