Digital nomads use a computer, and work from wherever they are. It’s no different for us, than it is for others except that we live in the same small space, but with a bunch more people. Personal space or space to work is an premium for us! Our only dedicated personal space we each have is where we sleep and our own personal storage. Every other square foot of the RV is fair game, and can be occupied at any given time!
Now don’t get me wrong, right now I am typing from our dining room table, with no traffic or distractions. But that isn’t always the case, and getting square footage on the table is usually a hot commodity!
Me personally, I struggle with completing a project if there is a lot of extra effort involved. Yes call me lazy. I like to have my computer open, on a project and come back to it on and off through the day, without moving my laptop from spot to spot.
We needed a dedicated work station. That ended up being an easy fix. Our 5th wheel came with the highest level cheap Chinese brand TV from 2011. It was a beaut alright, and we hardly ever used it. It was situated in a corner cabinet in our kitchen/living room just wasting space.
I removed the tv, and the mount holding it to what I thought was a wall. It ended up being a false wall, with a bunch of empty wasted space behind it.
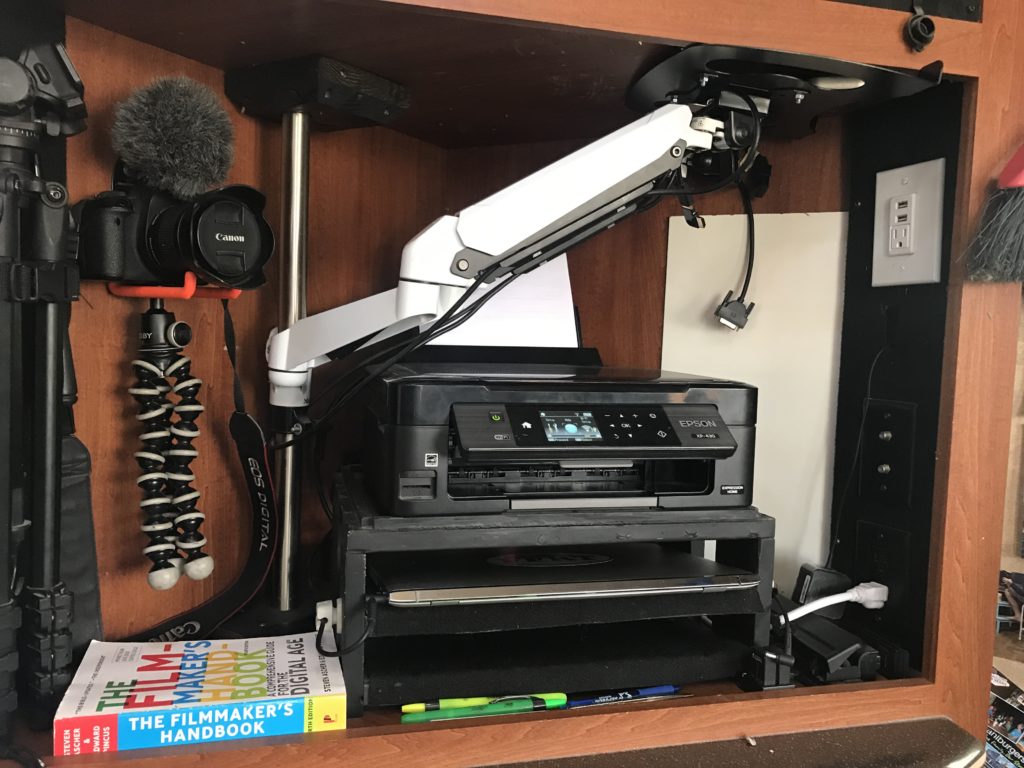
One thing we wanted to accomplish with the build is having a dedicated home for our printer. Prior to this renovation, we would take the printer out of the cabinet to print, print what we wanted, then pack it back up.
The printer stand:
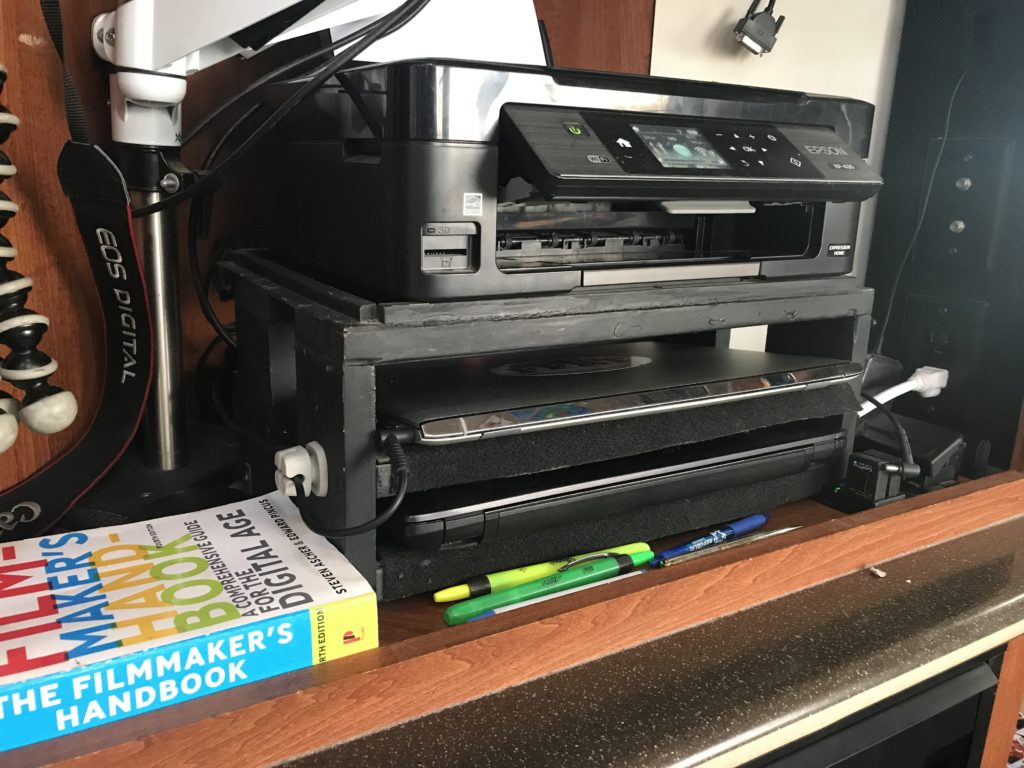
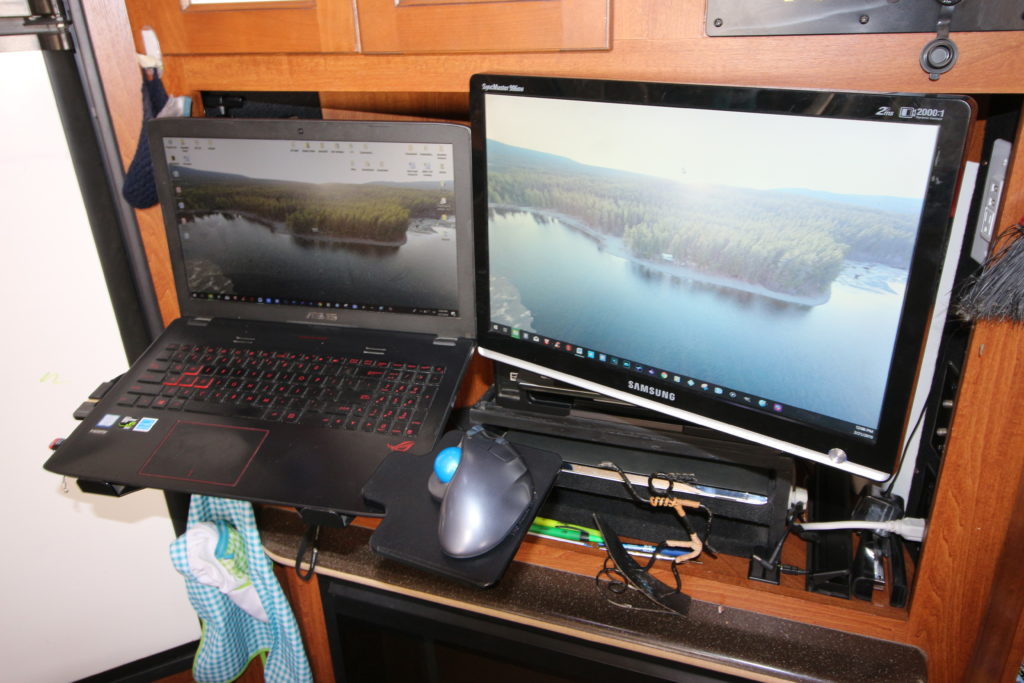
I constructed the stand with 1×4 lumber from the false wall demo. It has 2 shelves lined with black felt that hold our laptops. The black felt was also surplus from the TV mount/wall disassembly. I had a couple cans of black spray paint lying around that I used to paint the stand. The retainer lip around the top, was sized exactly to the dimensions of the printer, so it would fit there perfectly!
The arms:
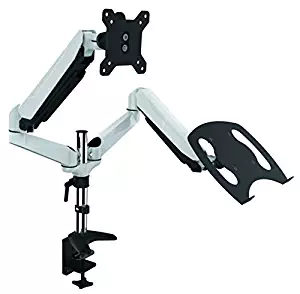
I found a dual gas arm set at the Fryes electronics in Renton that has one arm with a laptop tray, and the other arm is for a computer monitor. It was designed to be clamped down to a desk, or flat surface and wouldn’t work for my application as is, so I discarded the desk clamp, and got a shower rod from Home Depot the diameter I needed and cut it to length. I used 2 blocks from the wall disassembly to mount the shower rod vertically, and attached the gas arms to the new rod.
Arms: https://amzn.to/2NfKyOx
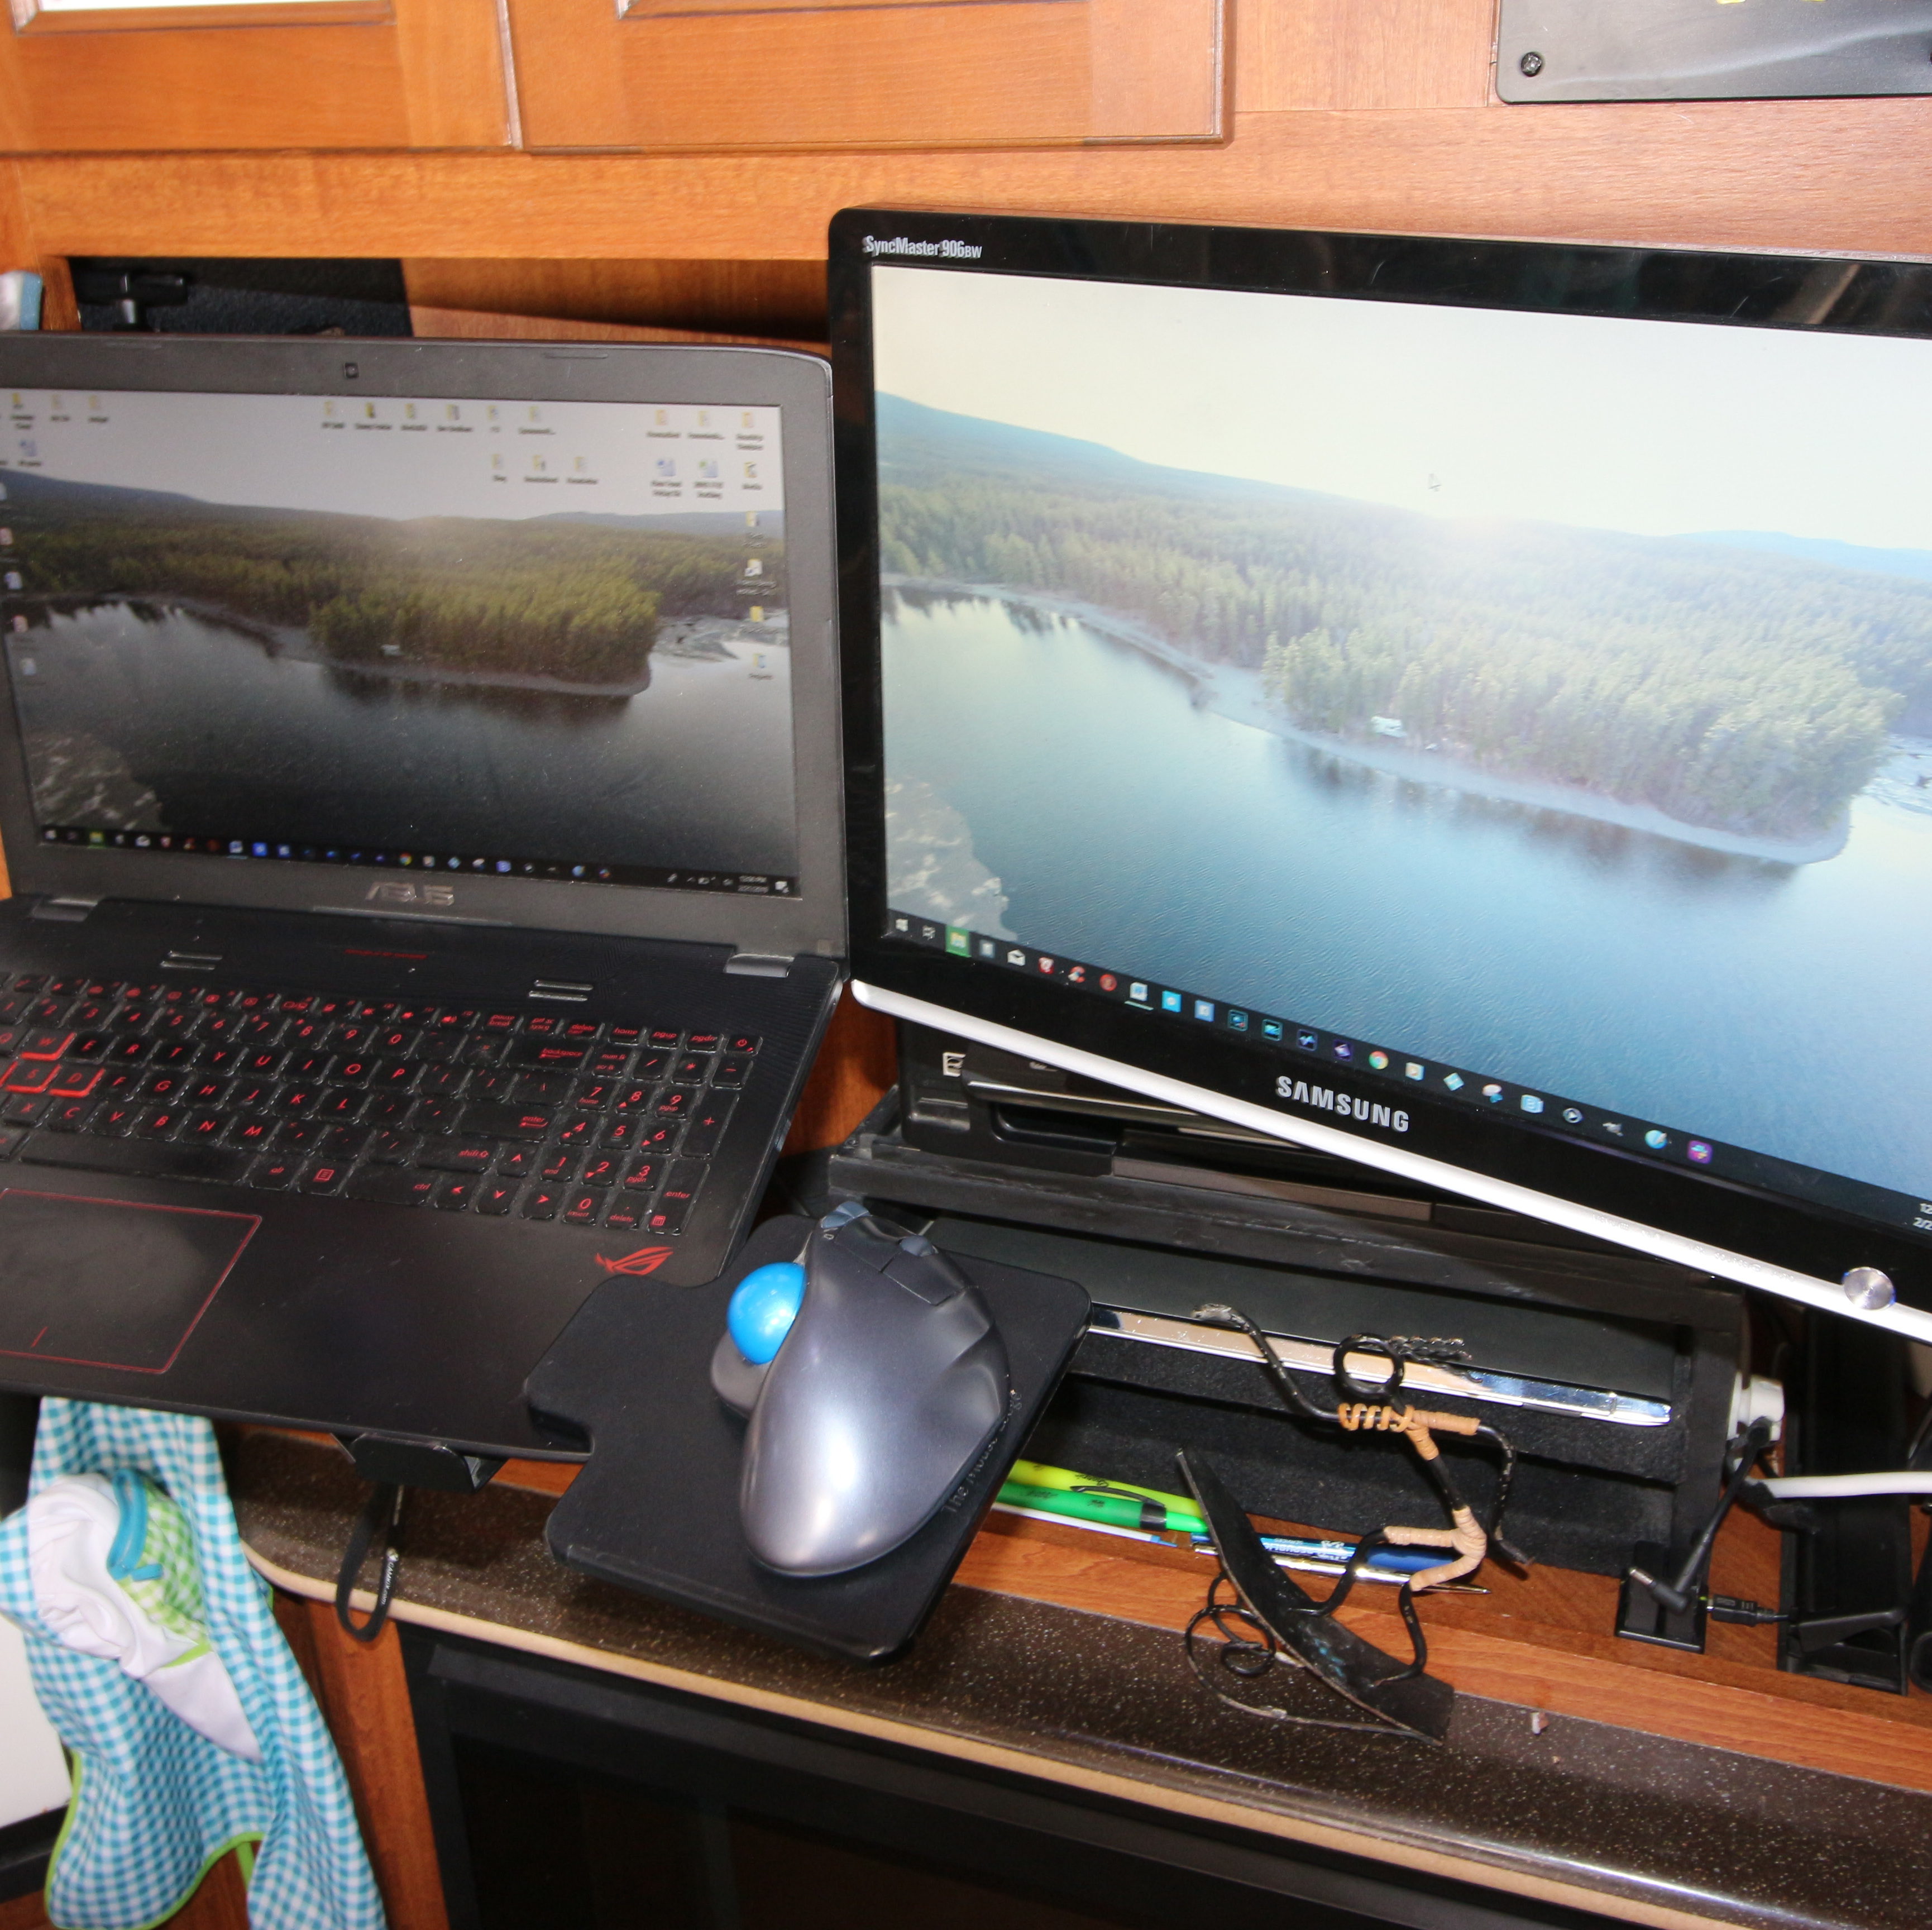
I did not know if I would even use a second monitor, so I didn’t want to spend a bunch of money on a monitor, so I found a monitor at Goodwill for cheap ($13) to test out and have been using it since. It is nice having the extra workspace when editing videos, and working on other projects. Since we don’t have a TV, we play videos and movies on the 2 screens for our family to watch.
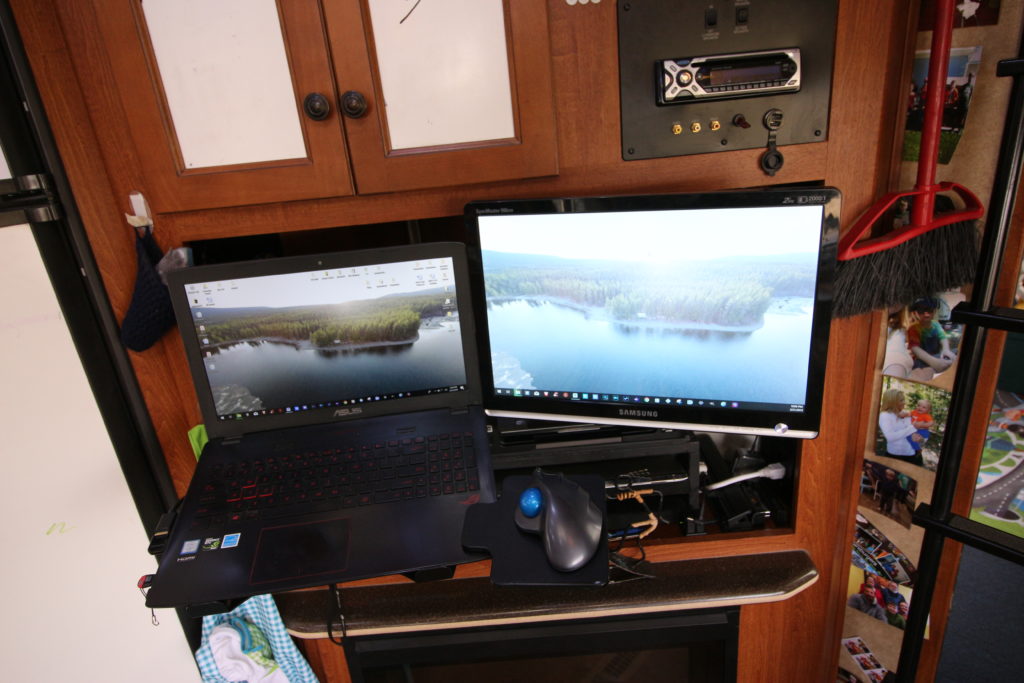
These arms aren’t meant to hold the laptop or monitor while the RV is in motion so the laptop is stored on a shelf on the Printer stand, and the monitor rides on the floor in our bedroom.
I cannot stand using the mouse pad on most laptops, so I found a really functional mouse pad clamp on Amazon, that attaches to my laptop, and allows me to use a regular mouse, or a ball mouse that I am currently using.
Extras:
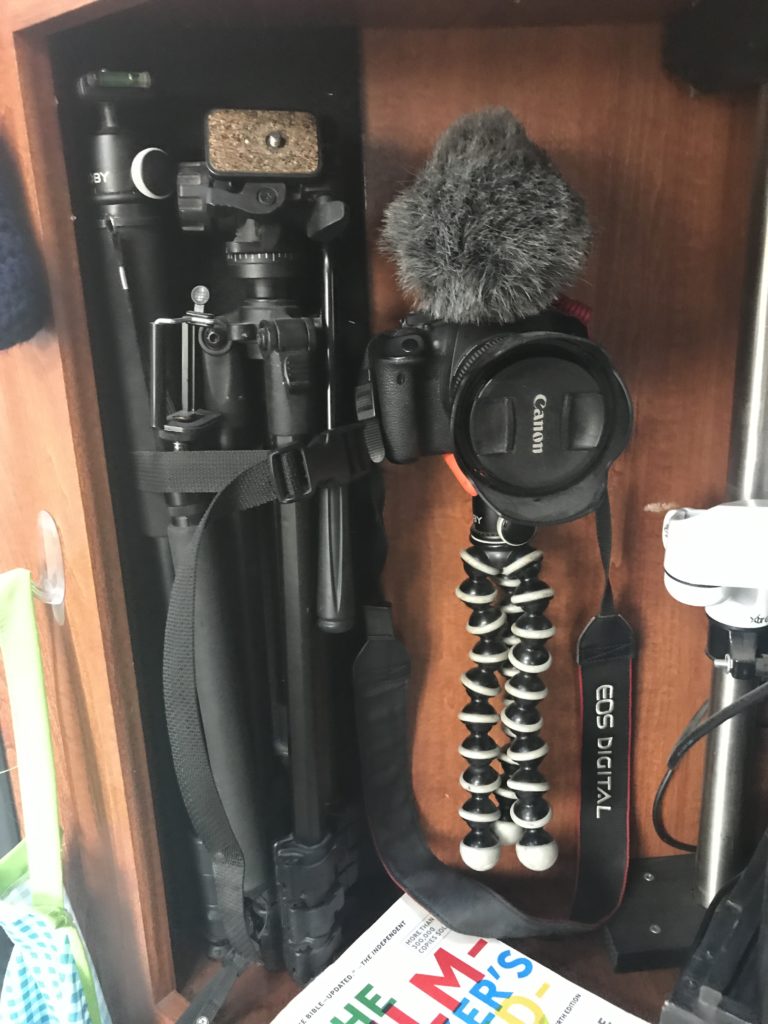
I had an USB outlet in my MacGyver box, so I installed it for extra charging, and I mounted a power strip in the back of the space for the printer and the laptop chargers. I also had a couple extra organizer mount things that worked great for the tripod and Camera.
White Dry Erase Boards:
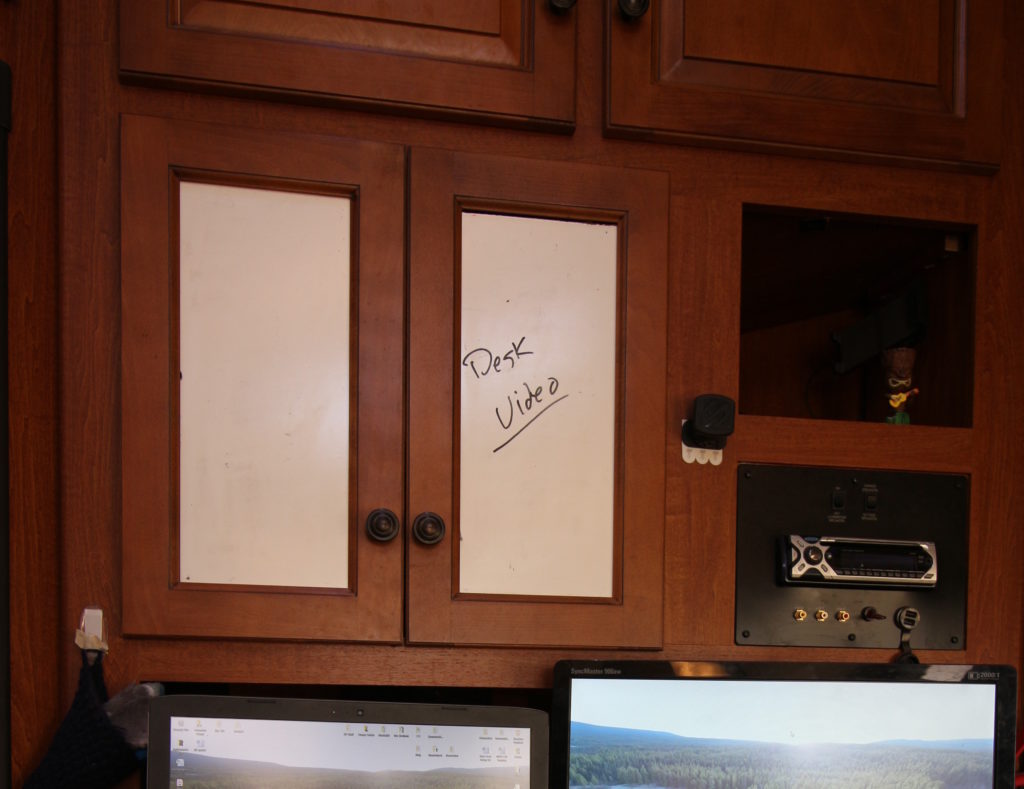
We had a piece of glass in a cabinet door break a while ago, so we replaced that one, and its match next door with white dry erase board. I use the white boards to keep myself organized.
The Network:
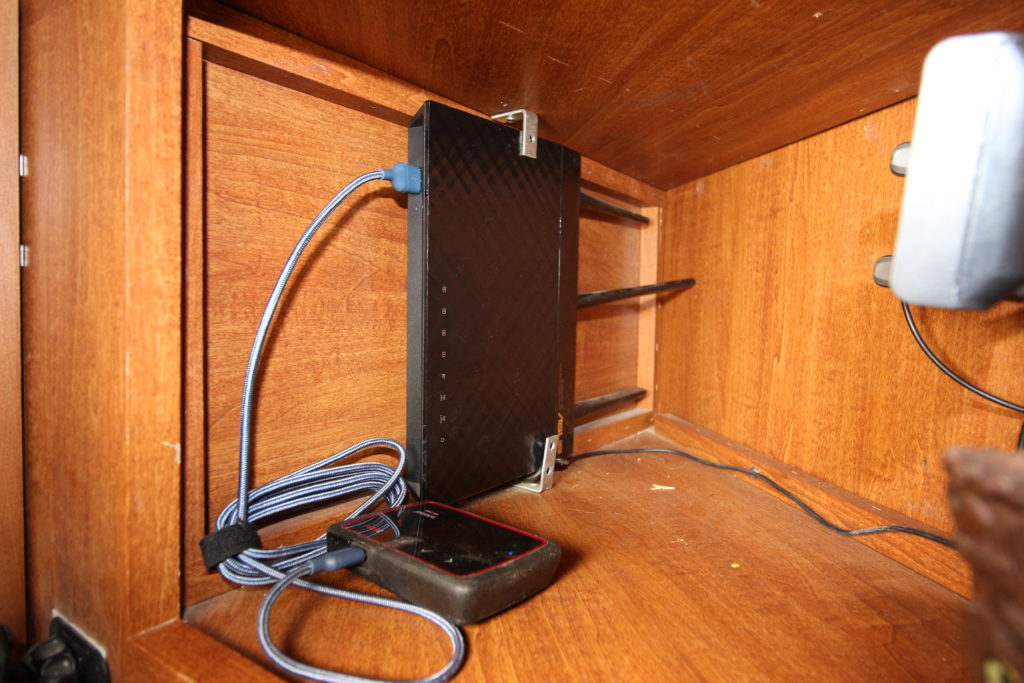
One of the things that had been a struggle was using our printer wirelessly. It could be mainly operator error, I will not dispute that. But something I did to remedy that (and there are other benefits) was get a normal household router to create a wireless network within the RV. I feed internet into the router from my unlimited Verizon Jetpack via USB. It’s nice having a network that doesn’t is consistent, and we can control the kids internet access, and share files easily between devices on the network.
Links:
This is the Kit: https://kit.co/roadschool/digital-nomad-workstation