
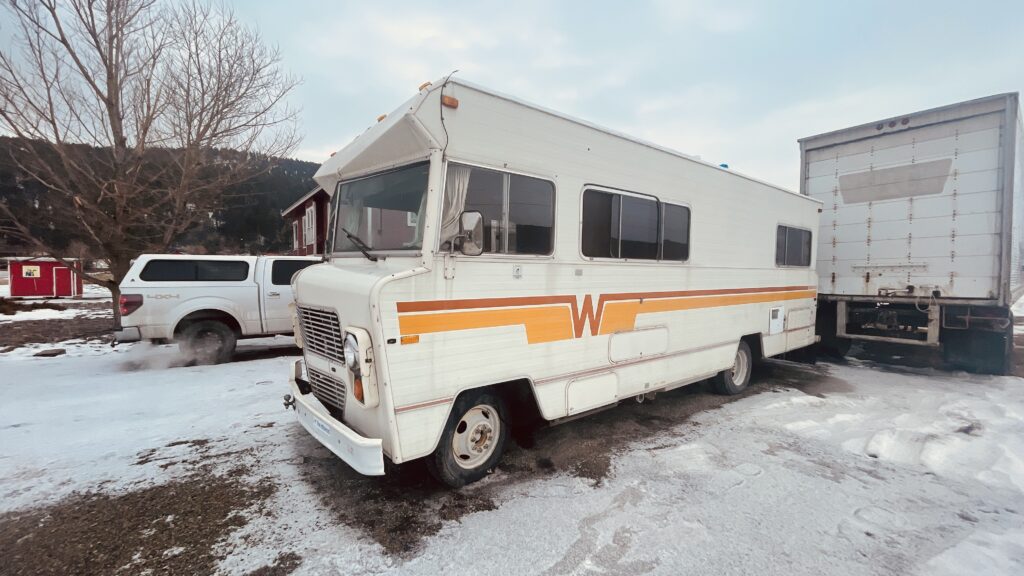
We have a new project, its a 1977 Winnebago Brave D26RT Class A Motorhome. When we came off the road in 2019, we were shopping for furniture for our house, and came across this old Winnebago for $600 and couldn’t pass it up.
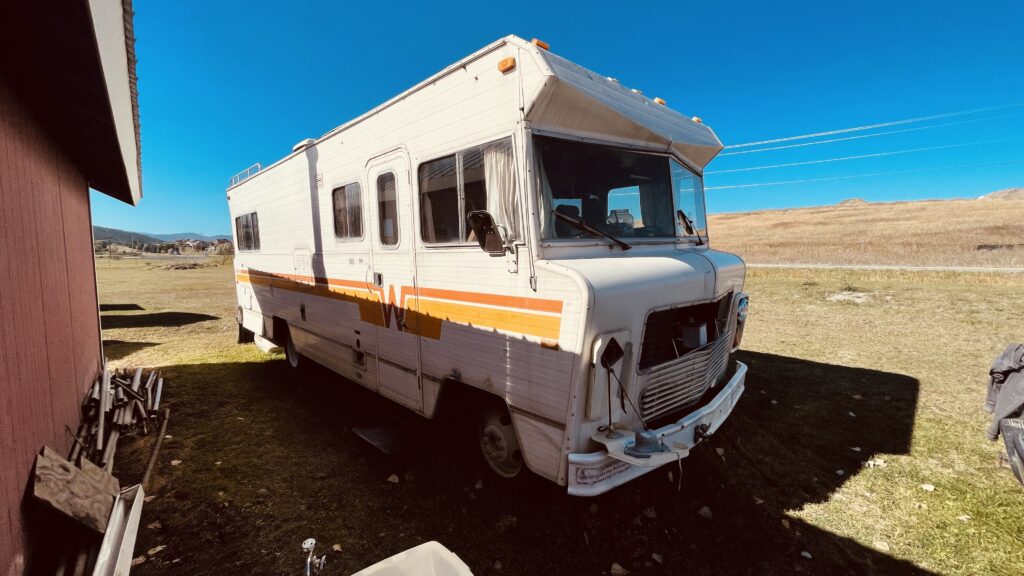
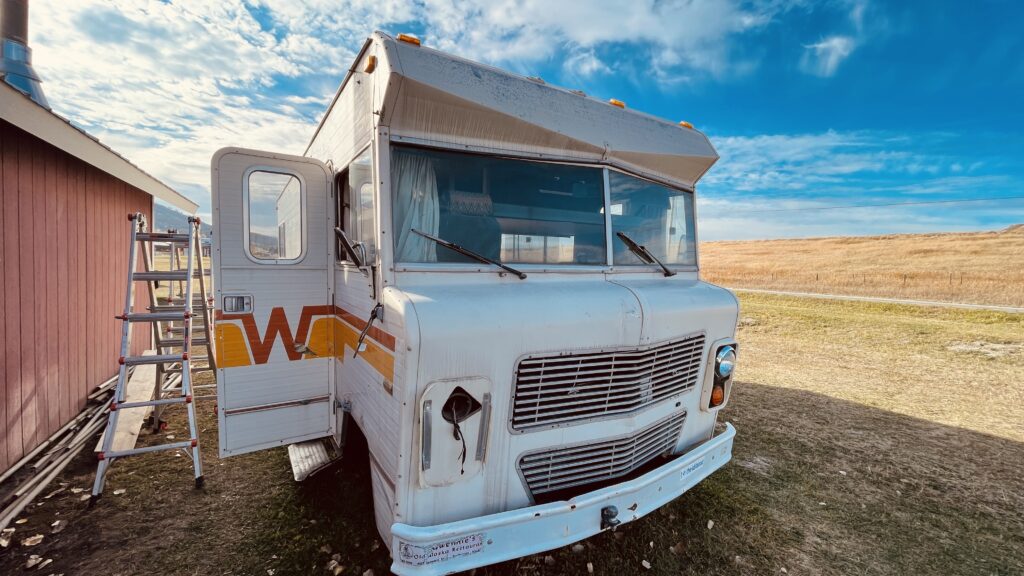
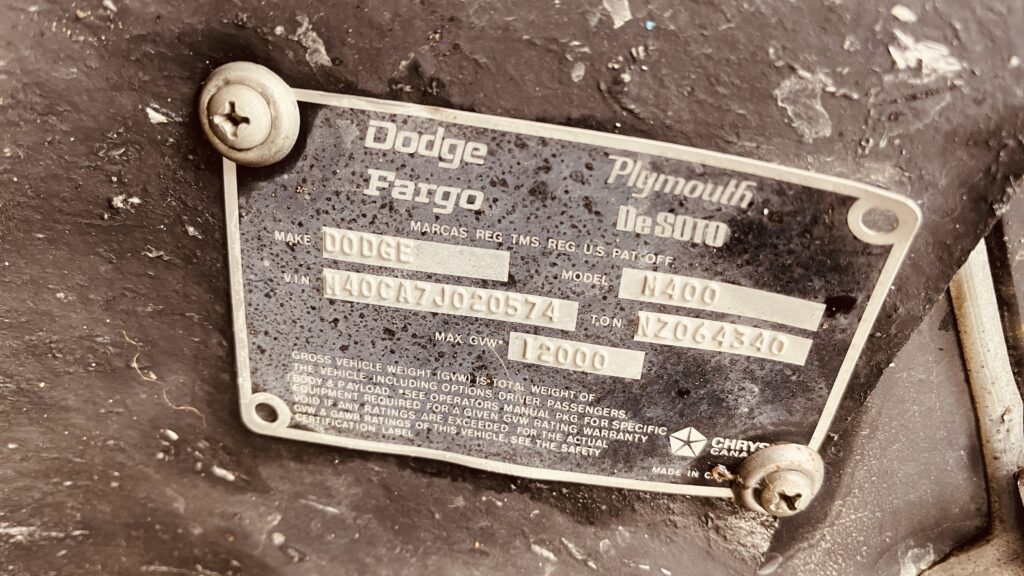
It is a 26′ Winnebago Brave 26RT Class A Motorhome. This old school motorhome is situated upon a Dodge M400 Chassis and boasts a Dodge 440 big block engine. At this point we do not know what we plan todo with it in the end, but our options are open! We are considering renovating the interior and using it as a Vacation Rental, or getting it road worthy and taking it on trips. Regardless of wether we choose one of those options, or just part it out, we feel like we will get our value out of it.
This build is ongoing, check back as it progresses. You can also see the products we used in this build here: https://kit.co/Roadschool/1977-winnebago-brave-d26rt
Were keeping it!
After considering the options, we decided to keep it and not part it out. The first thing we needed to address now that we decided to keep it, is the roof. The AC unit had sunk down, and a 5′ section was in very bad shape. We decided that before we started gutting the ceiling/roof, we needed to rip out all of the carpets. It was shaggy, old, and smelt bad!
Once we committed to repairing the roof, we got in touch with one of our RV friends that we knew had the information on how to get this done. Lucky for us, they were traveling close and had some free time, so they came and stayed in the field for a few days. I had the supplies ready, and we got right to work. They are RVers after all, and it was Montana in October, there was definitely frost in the air.
Roof Prep
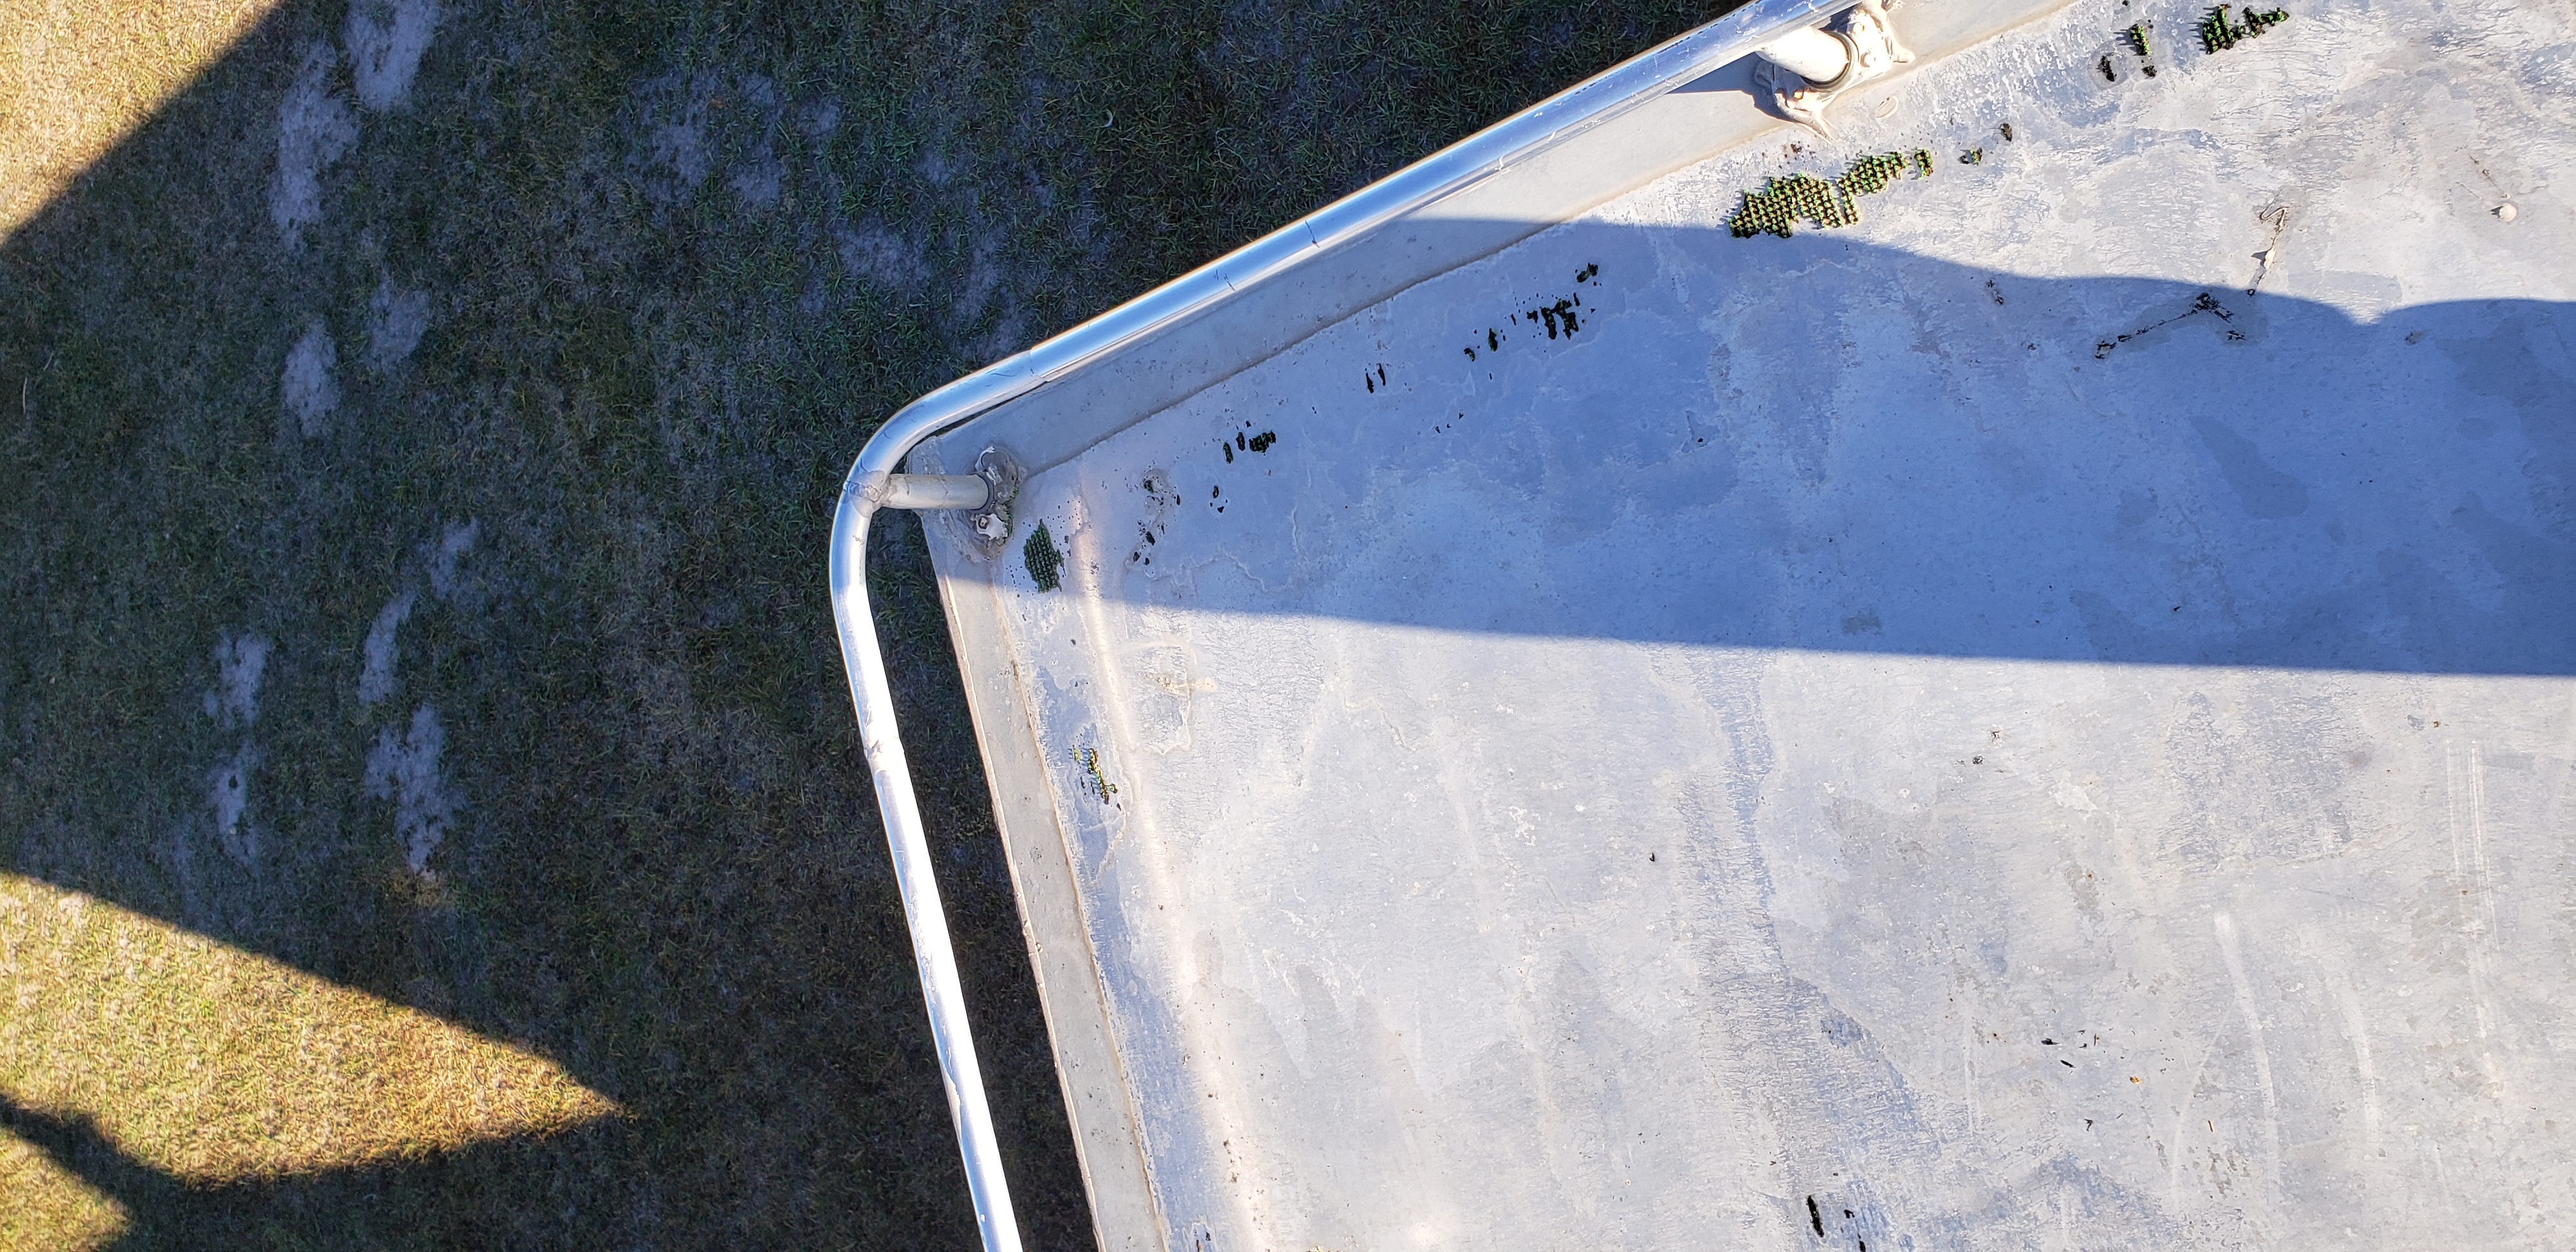
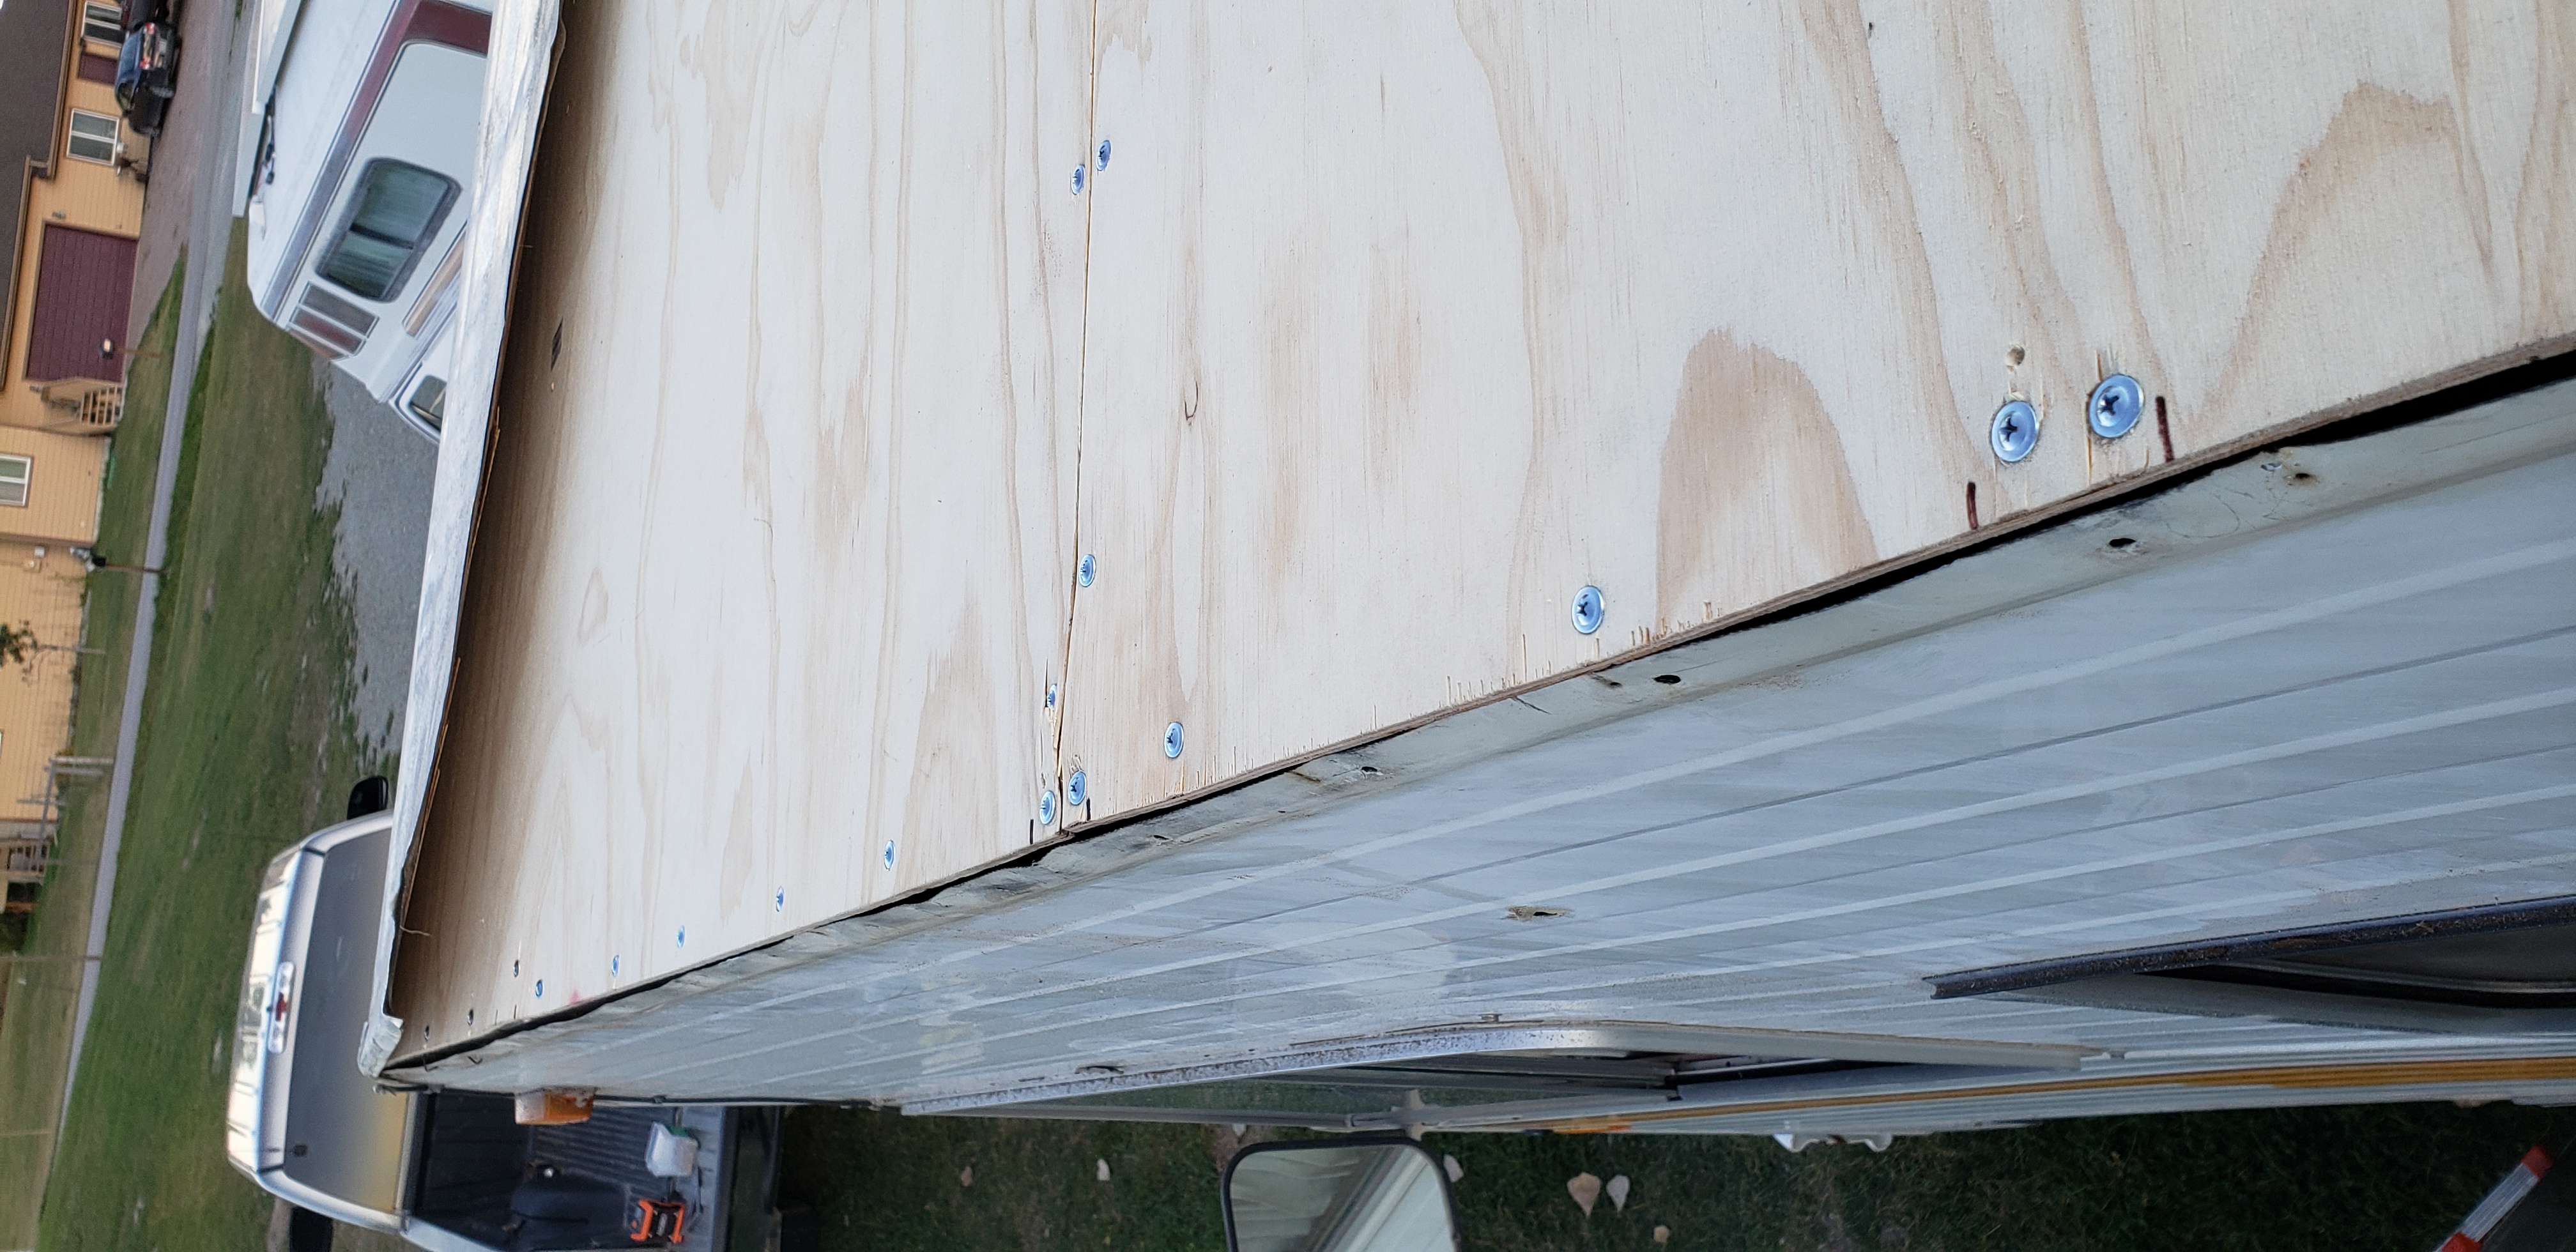
We started by removing any fixtures from the roof. That would include handrails, vents, and any other fixtures. At one time during its life, someone put adhesive indoor/outdoor carpet on the roof. It was filthy, so we used grinders, sanders, wire wheels, scrappers, and anything to take the roof down to the metal on the entire roof from front to back!
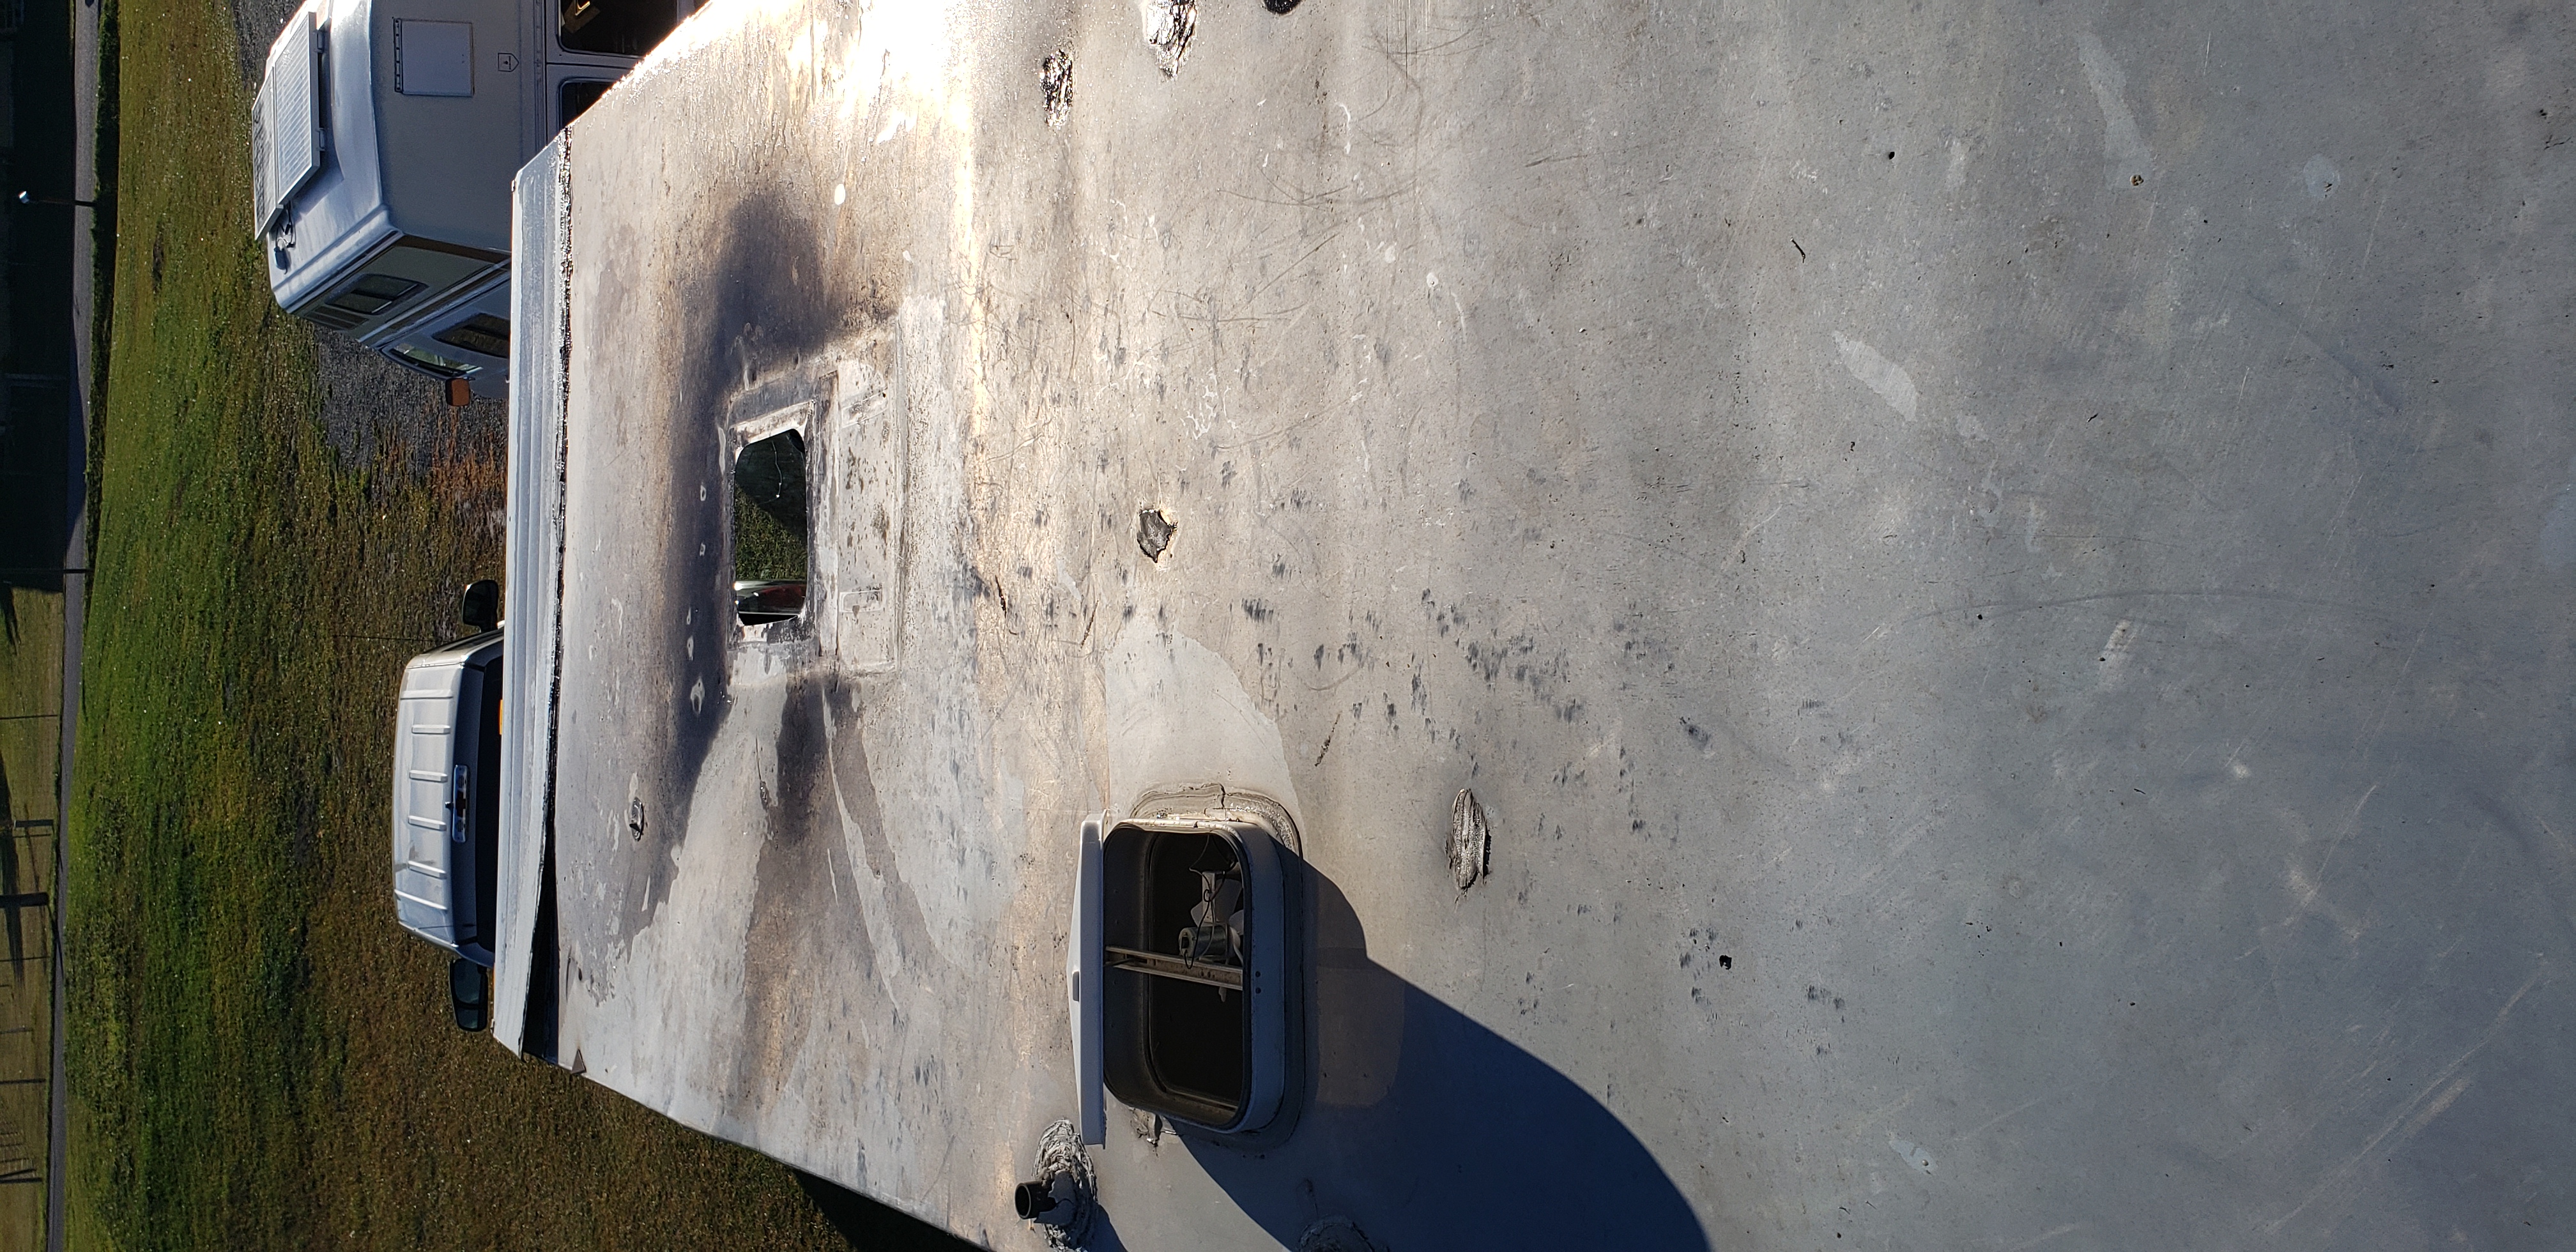
We removed the rain gutters along both sides of the coach from front to back. They held the metal roof down on the sides. There was a seam toward the front of the RV, and the roof was one piece all the way to the back, so to eliminate the need to remove the entire roof skin, we cut the metal roof across and were able to remove the skin from above the entire damaged area.

We removed all of the rotten wood, and foam from the seam in the front as far back as the bathroom. The roof seemed pretty good from there back, so we decided to do a partial roof replacement.
New Bones
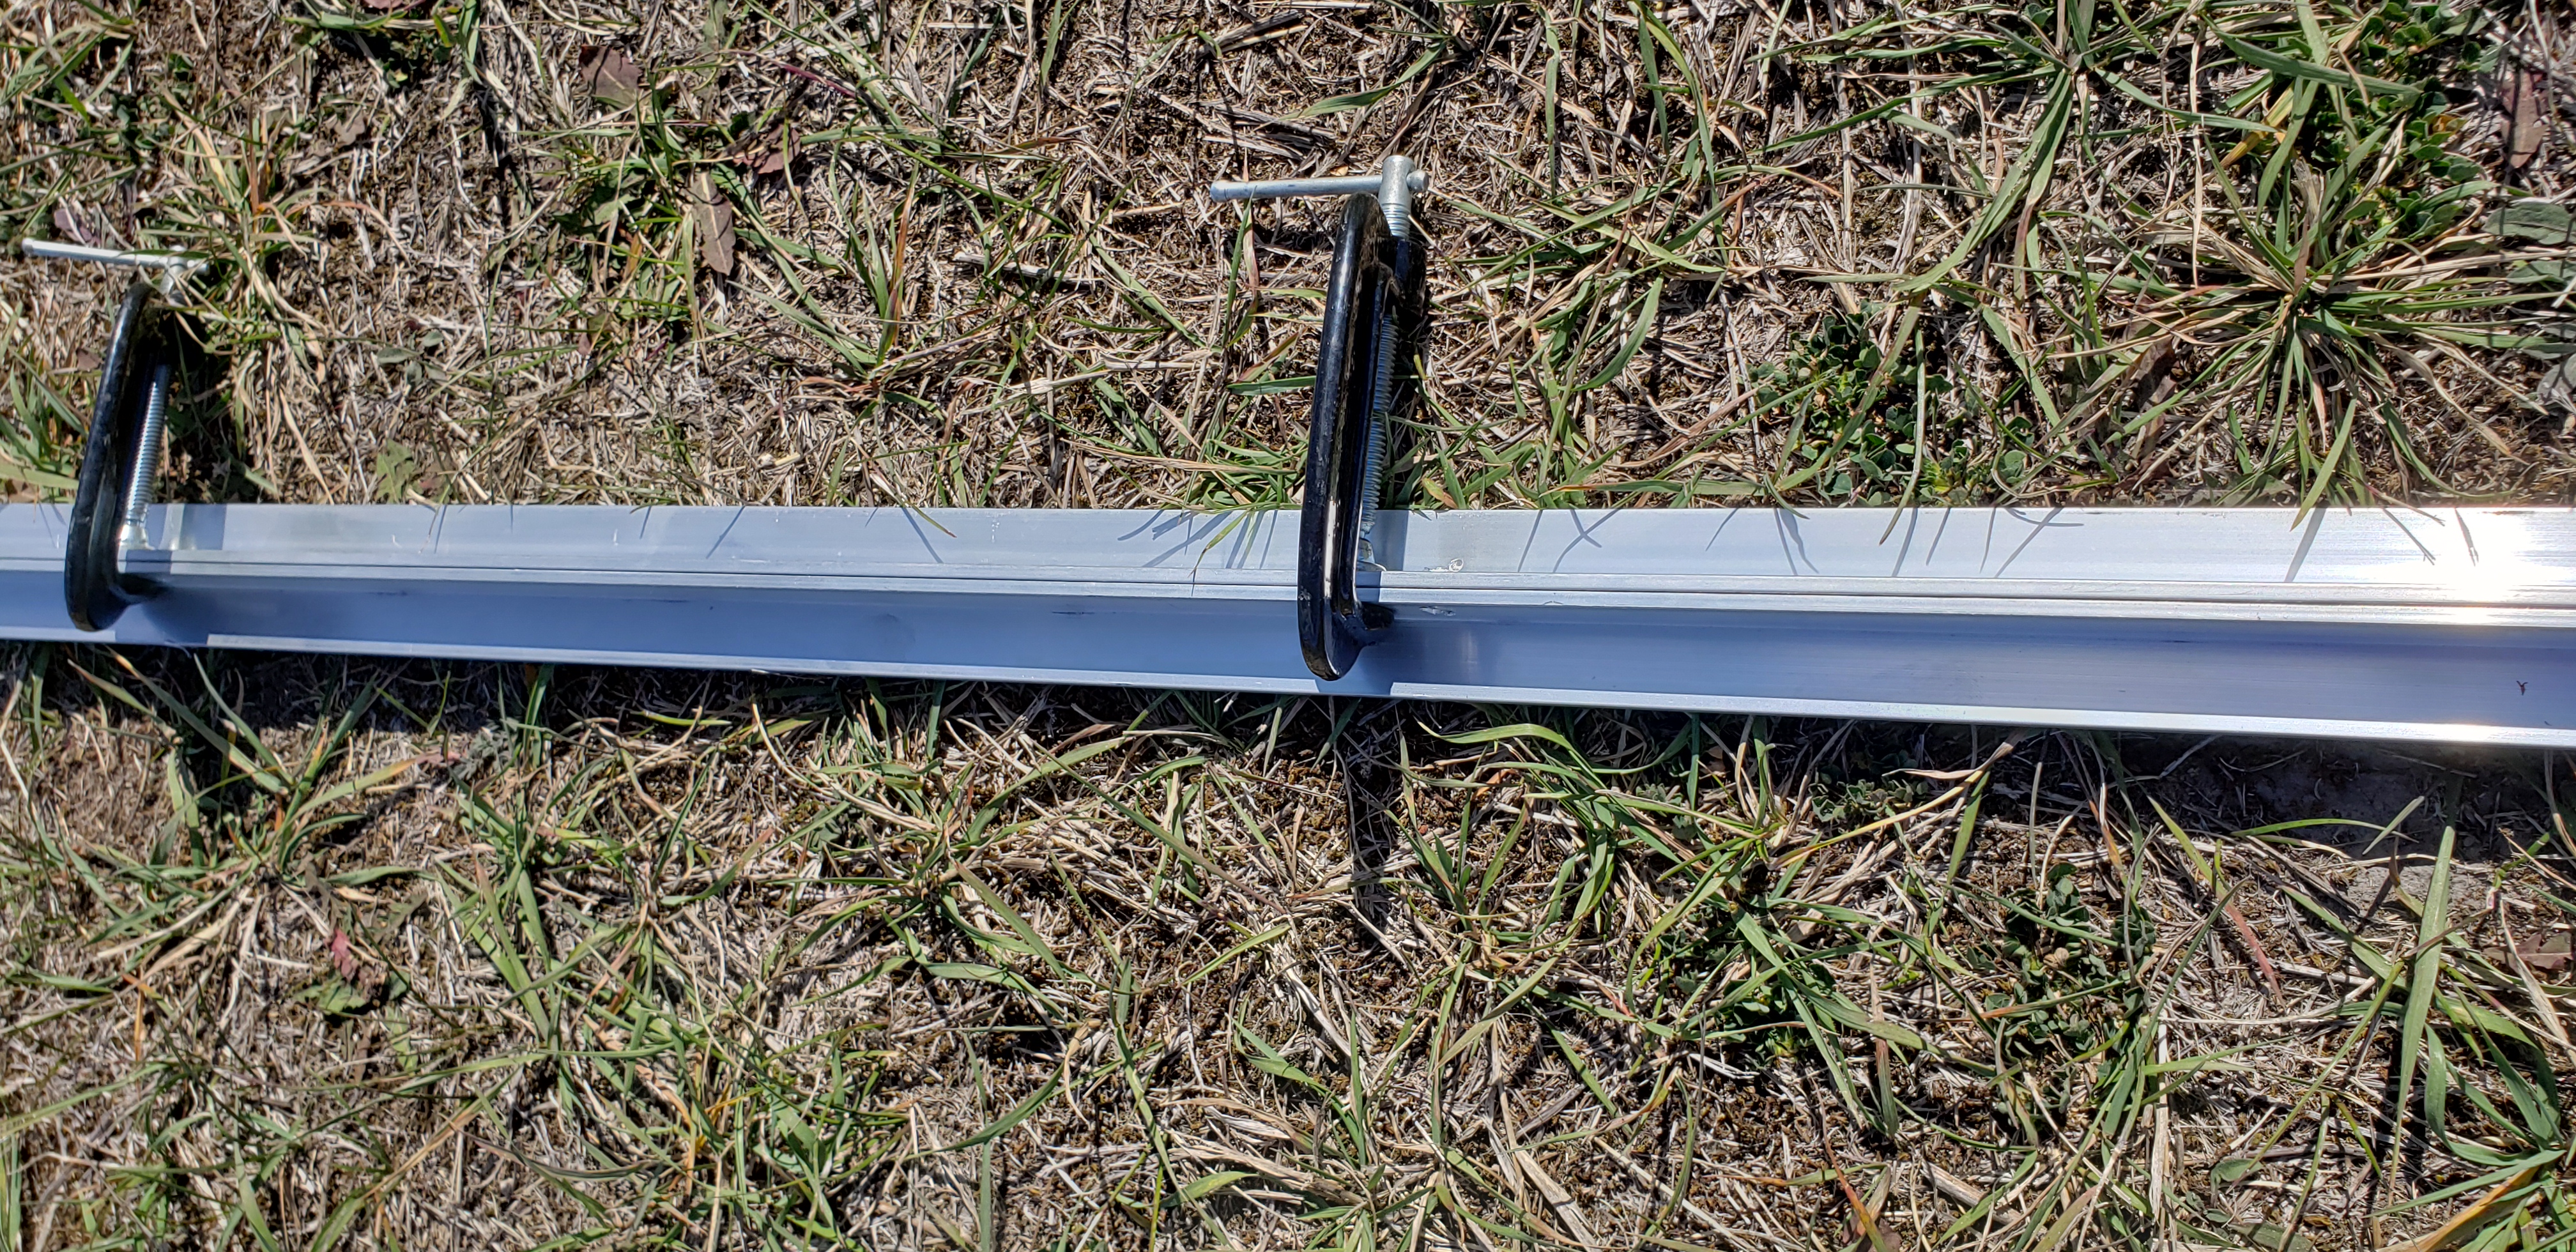
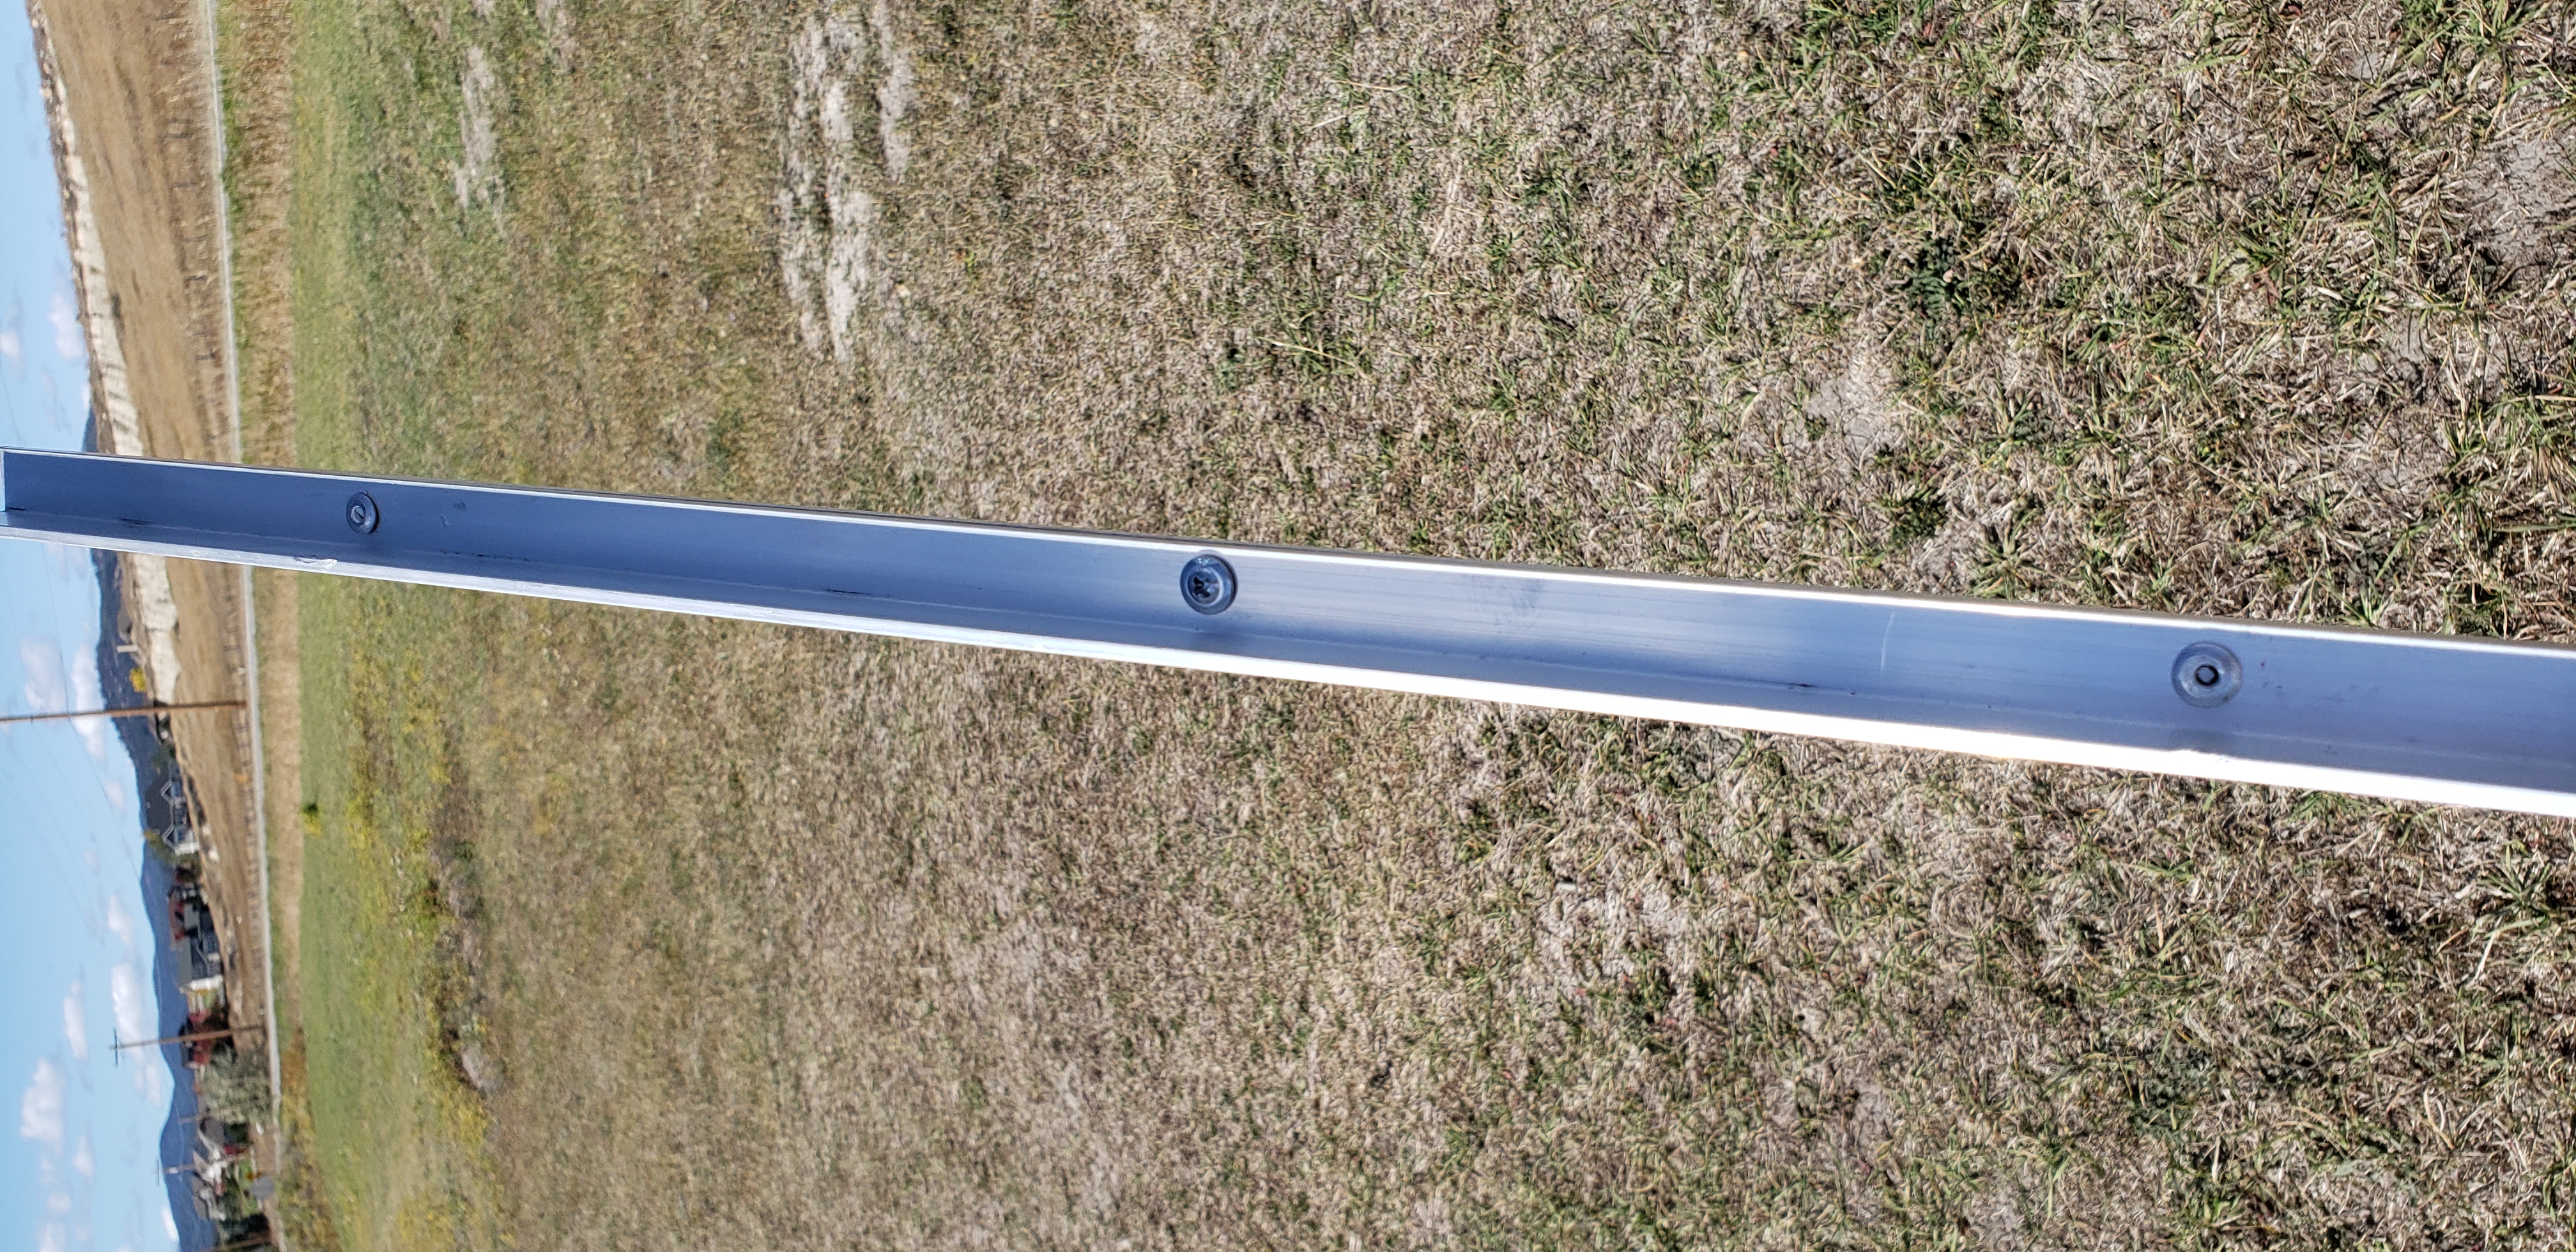
We used 1 1/2″ angle aluminum that we riveted 2 together to create a strong truss, and ran blank of them across every 16″ or so. These aluminum angles are strong on their own, but coupled together they were a great choice for this project as they are strong and do not weigh a lot.
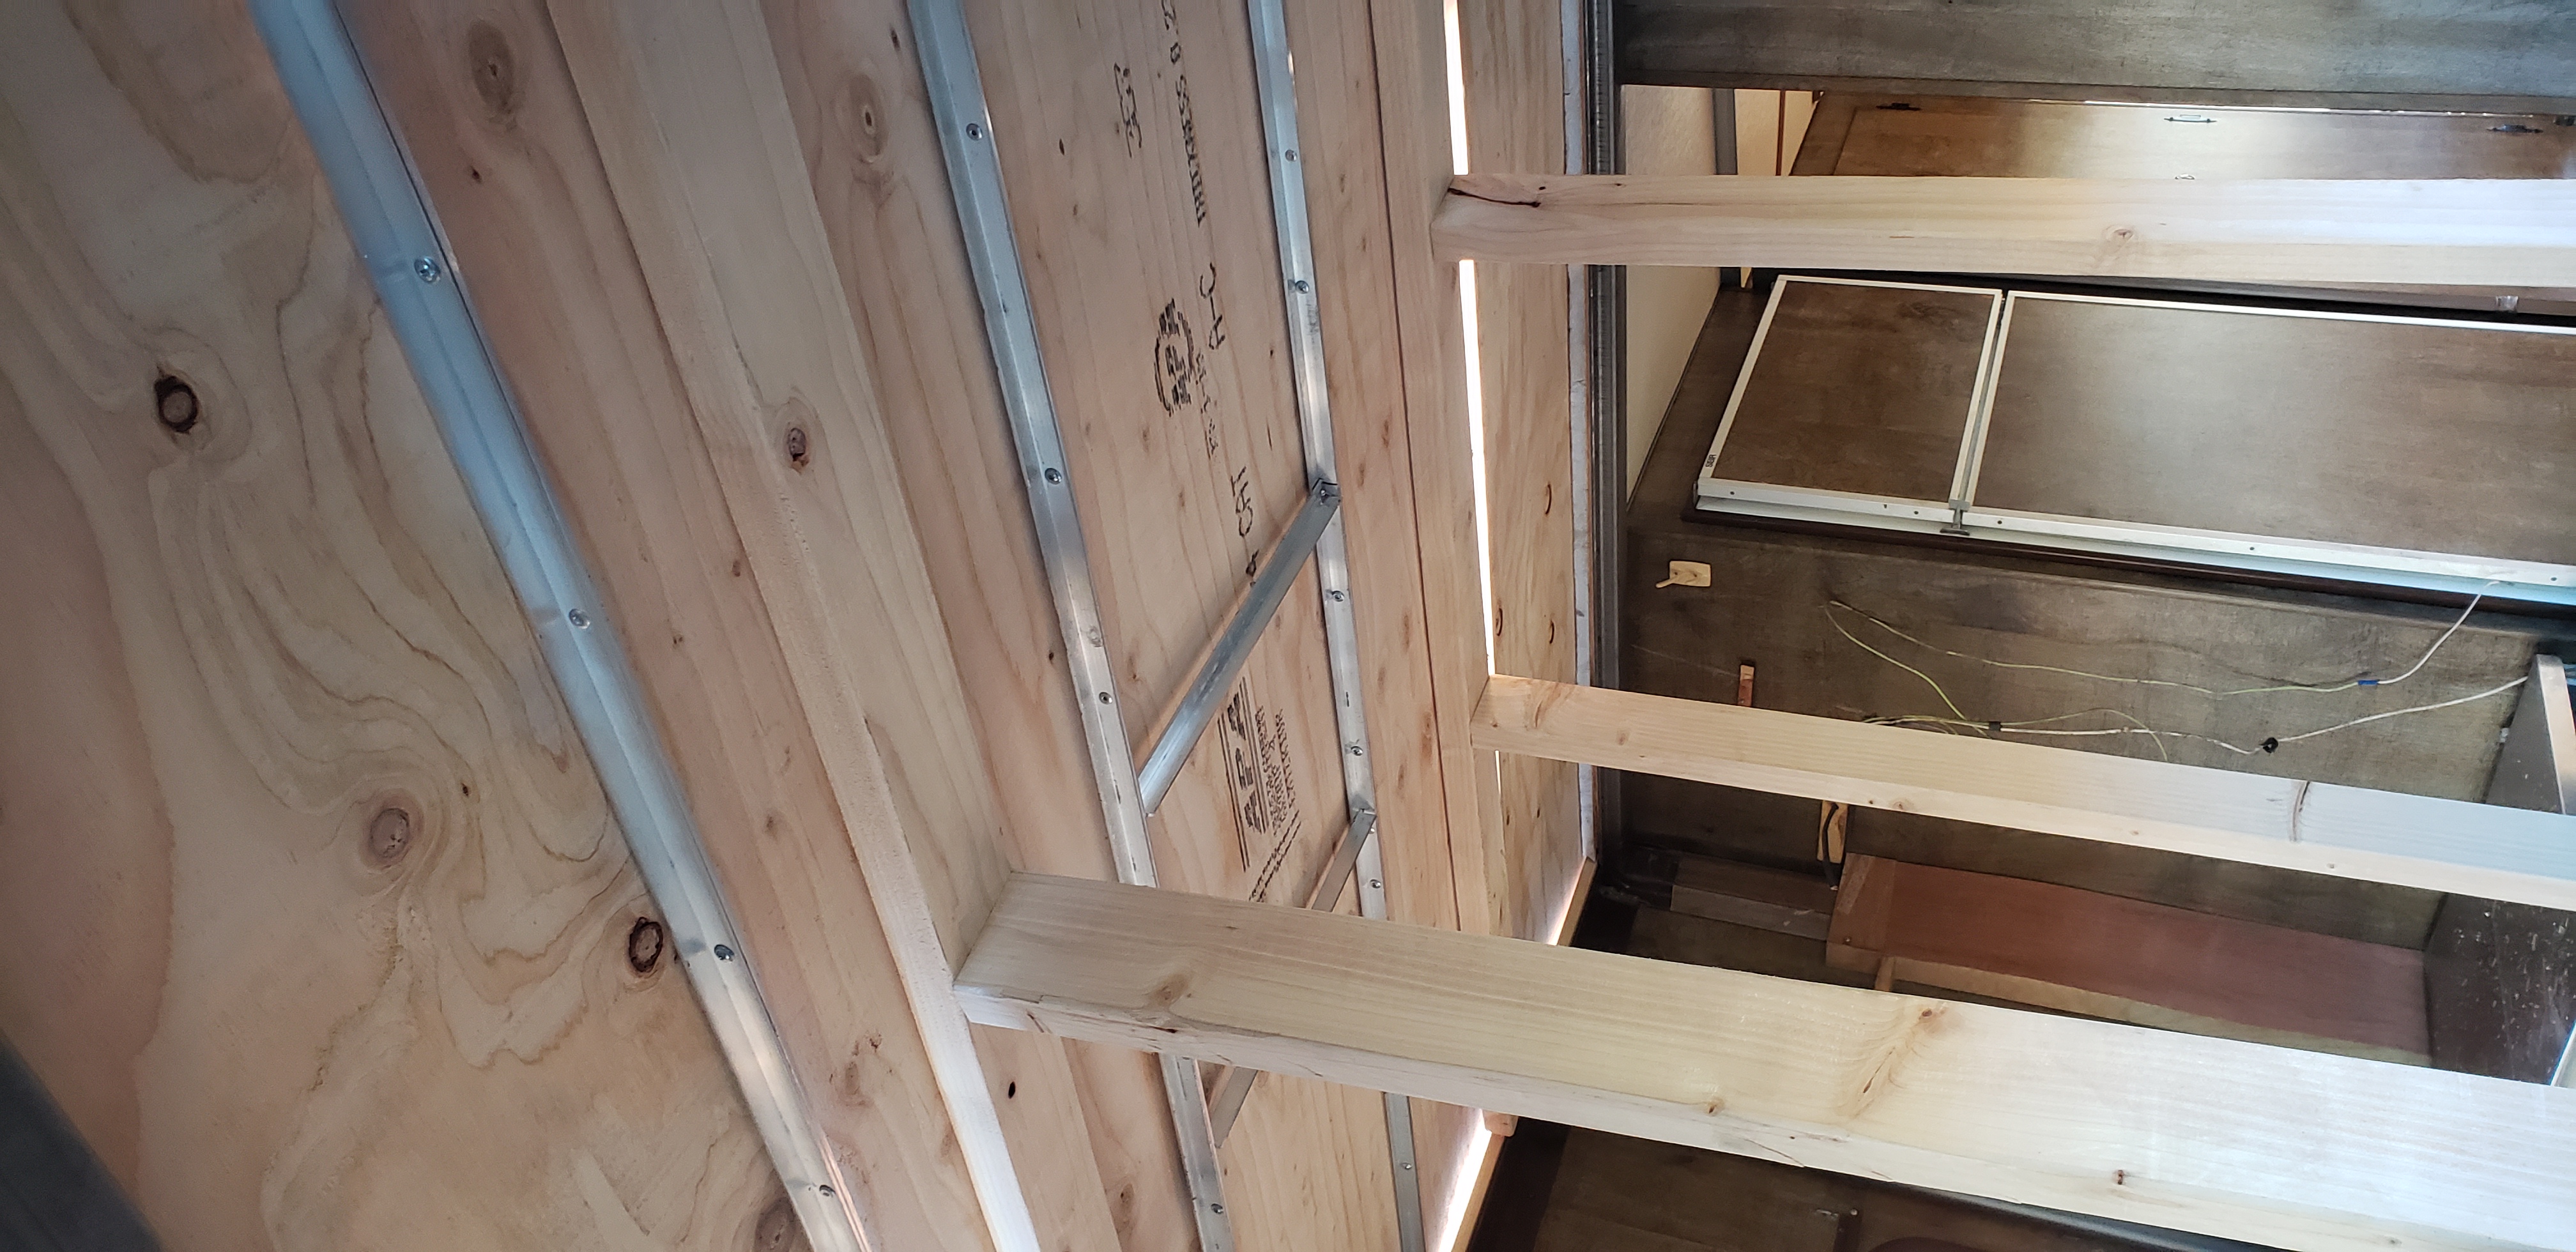
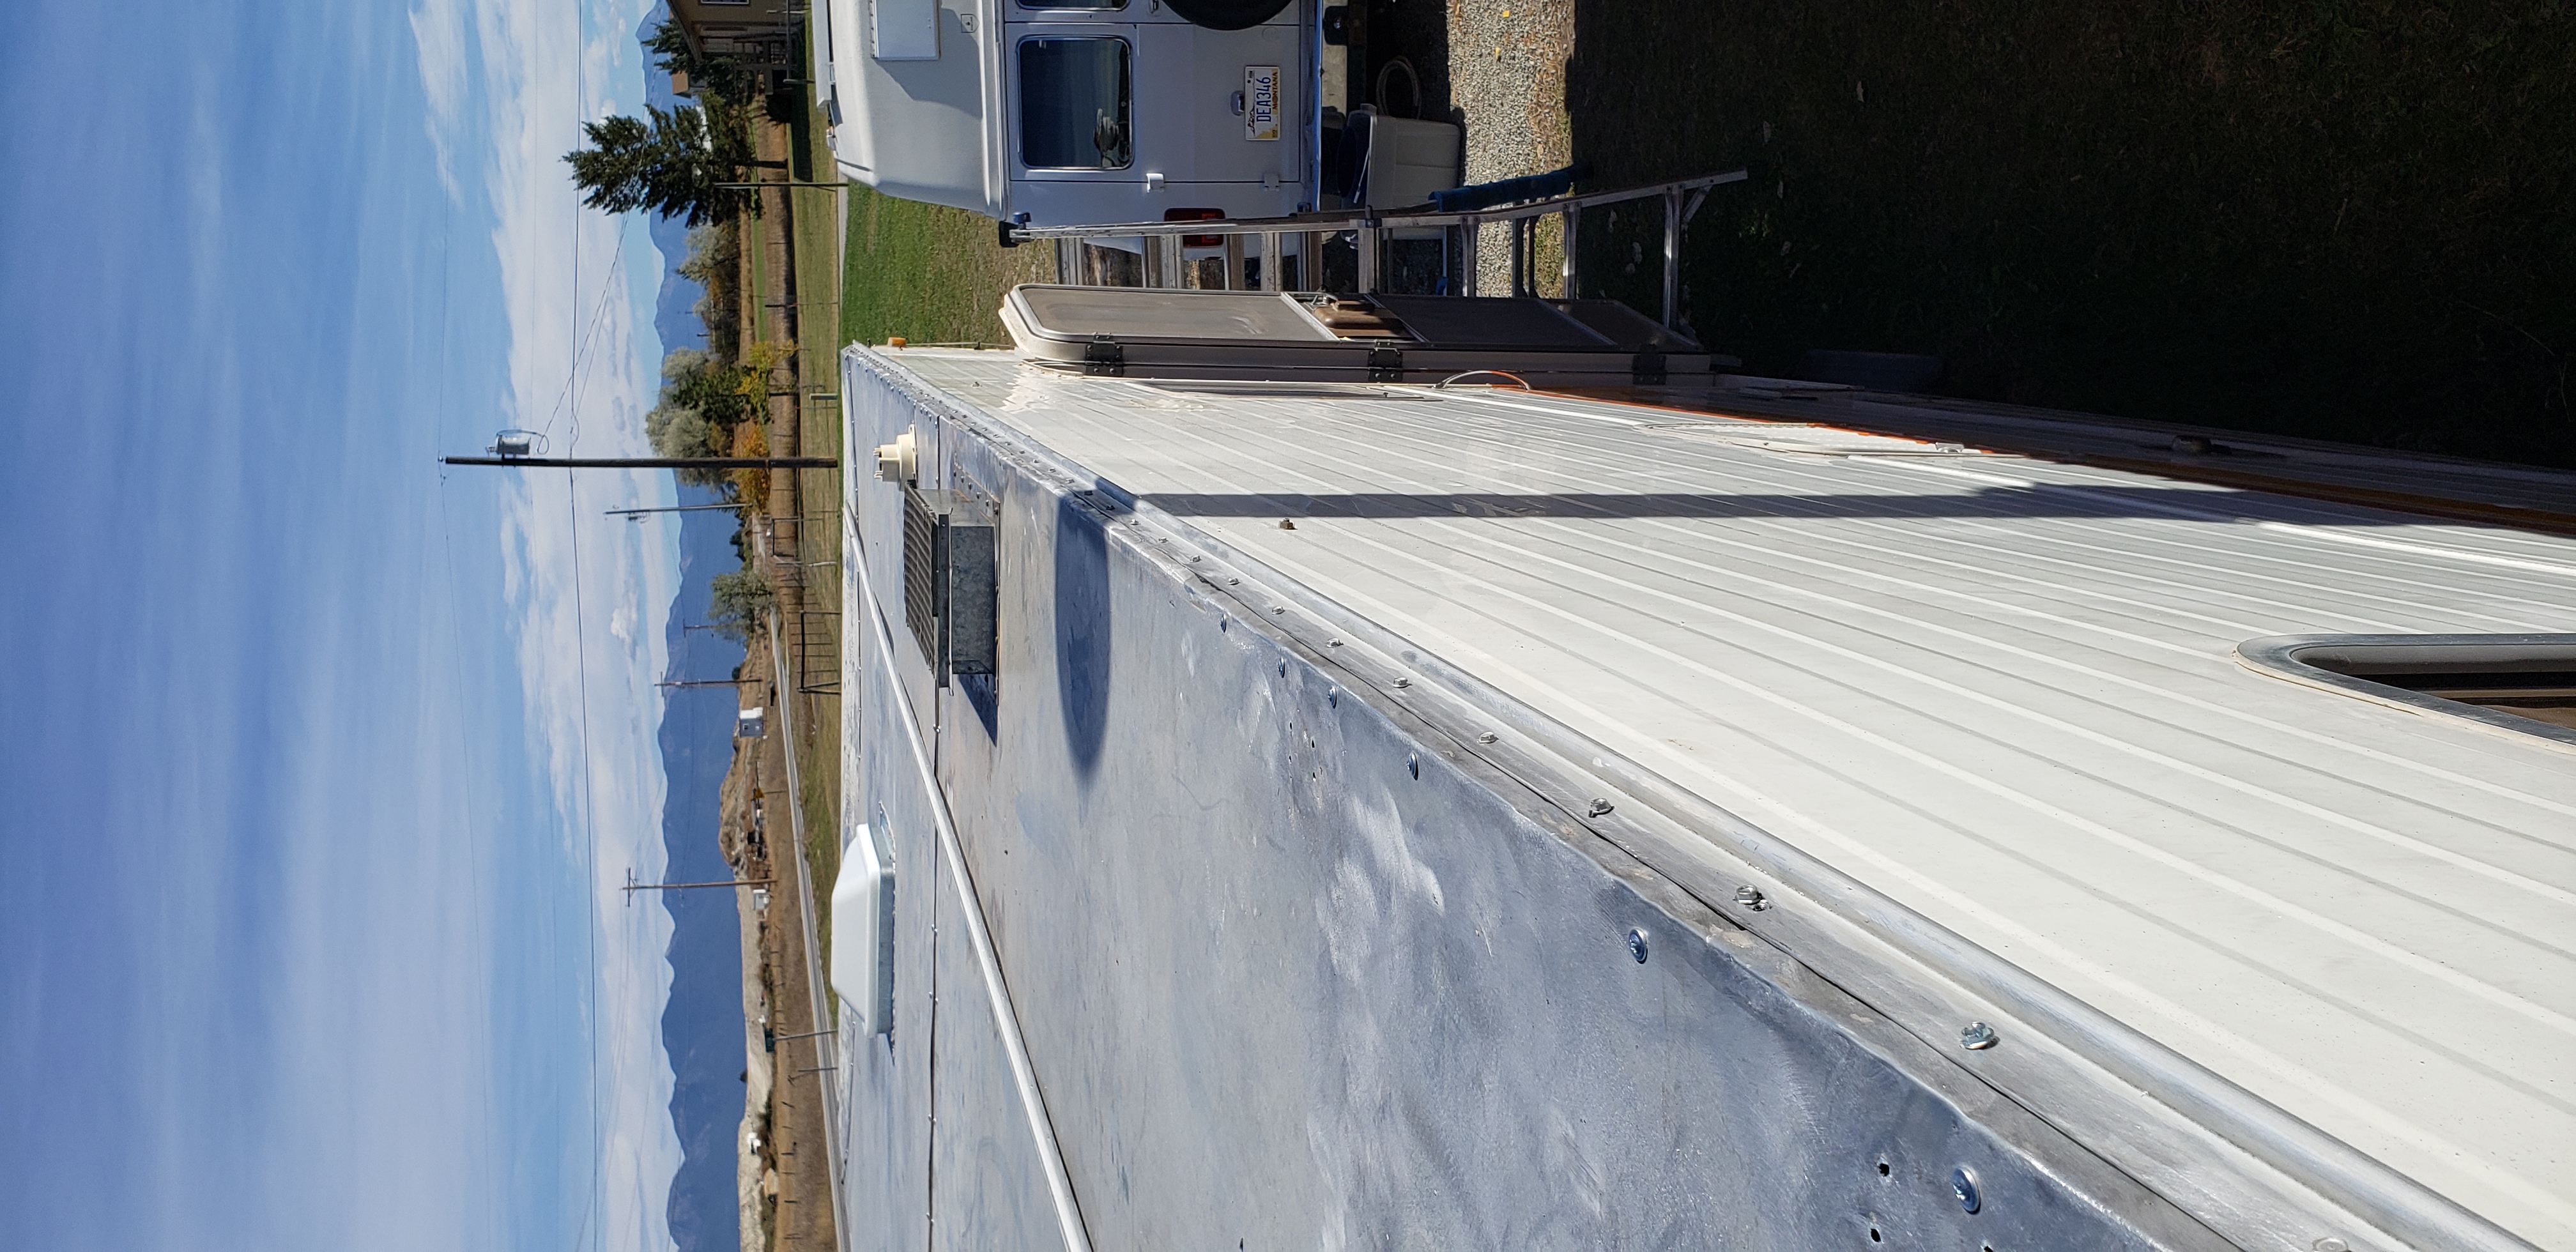
Once we got all the new aluminum trusses in, we covered it with new 3/8″ sheathing. We screwed the new wood sheathing into the aluminum and the frame of the coach along the sides using self-tapping screws.
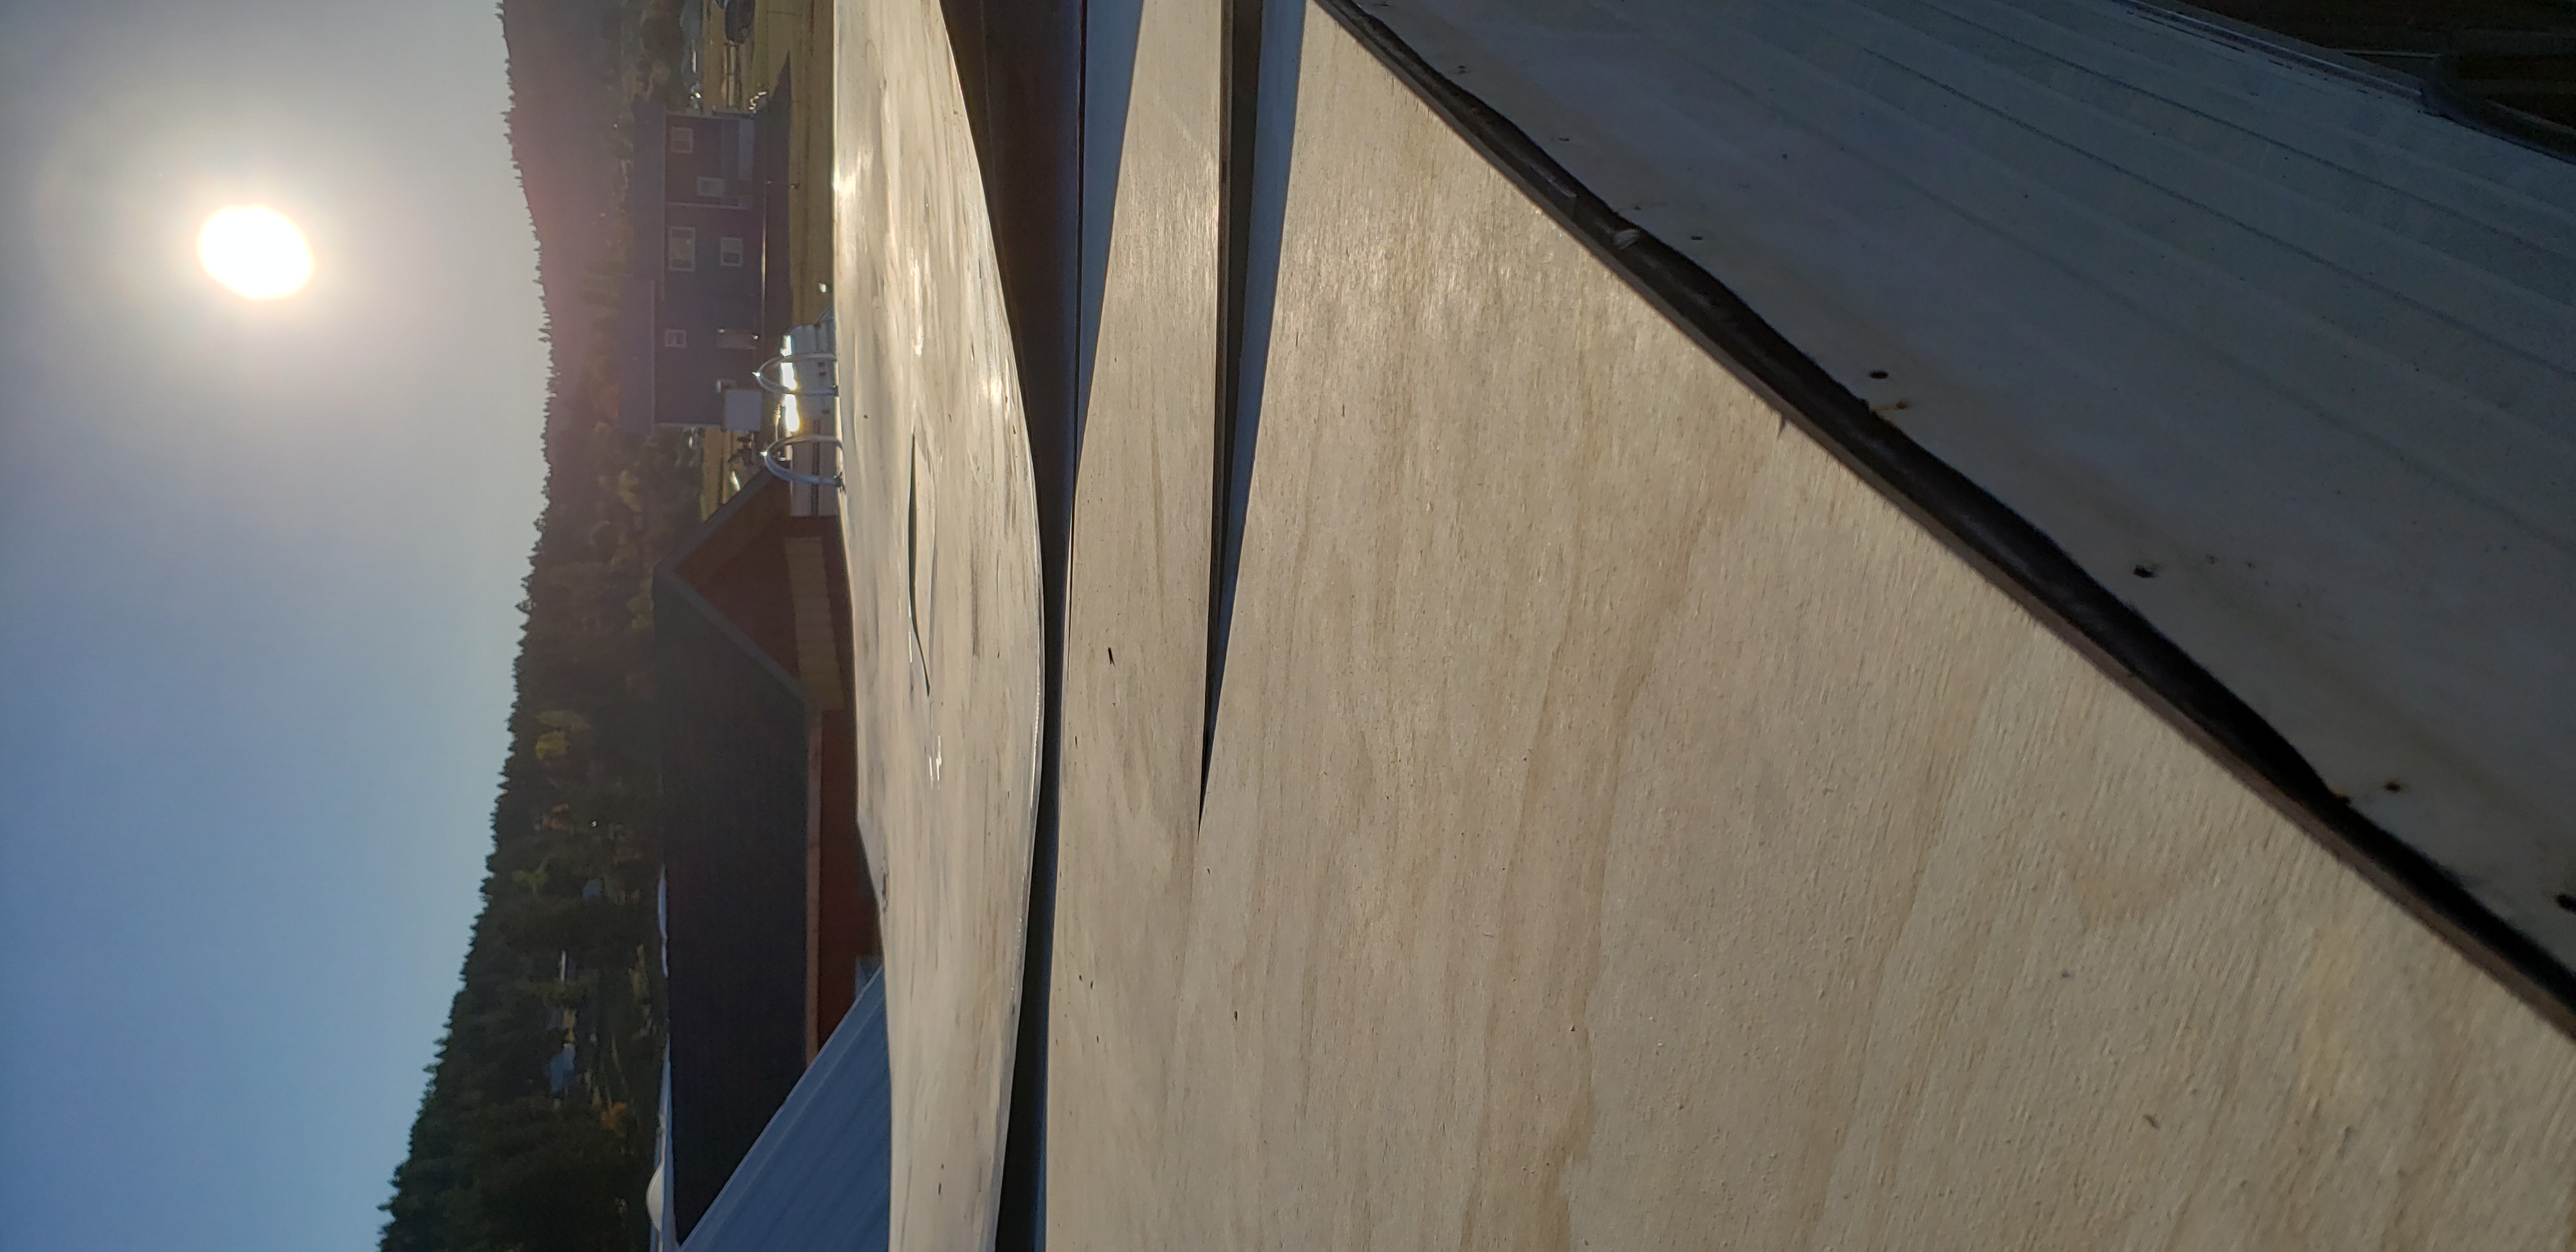

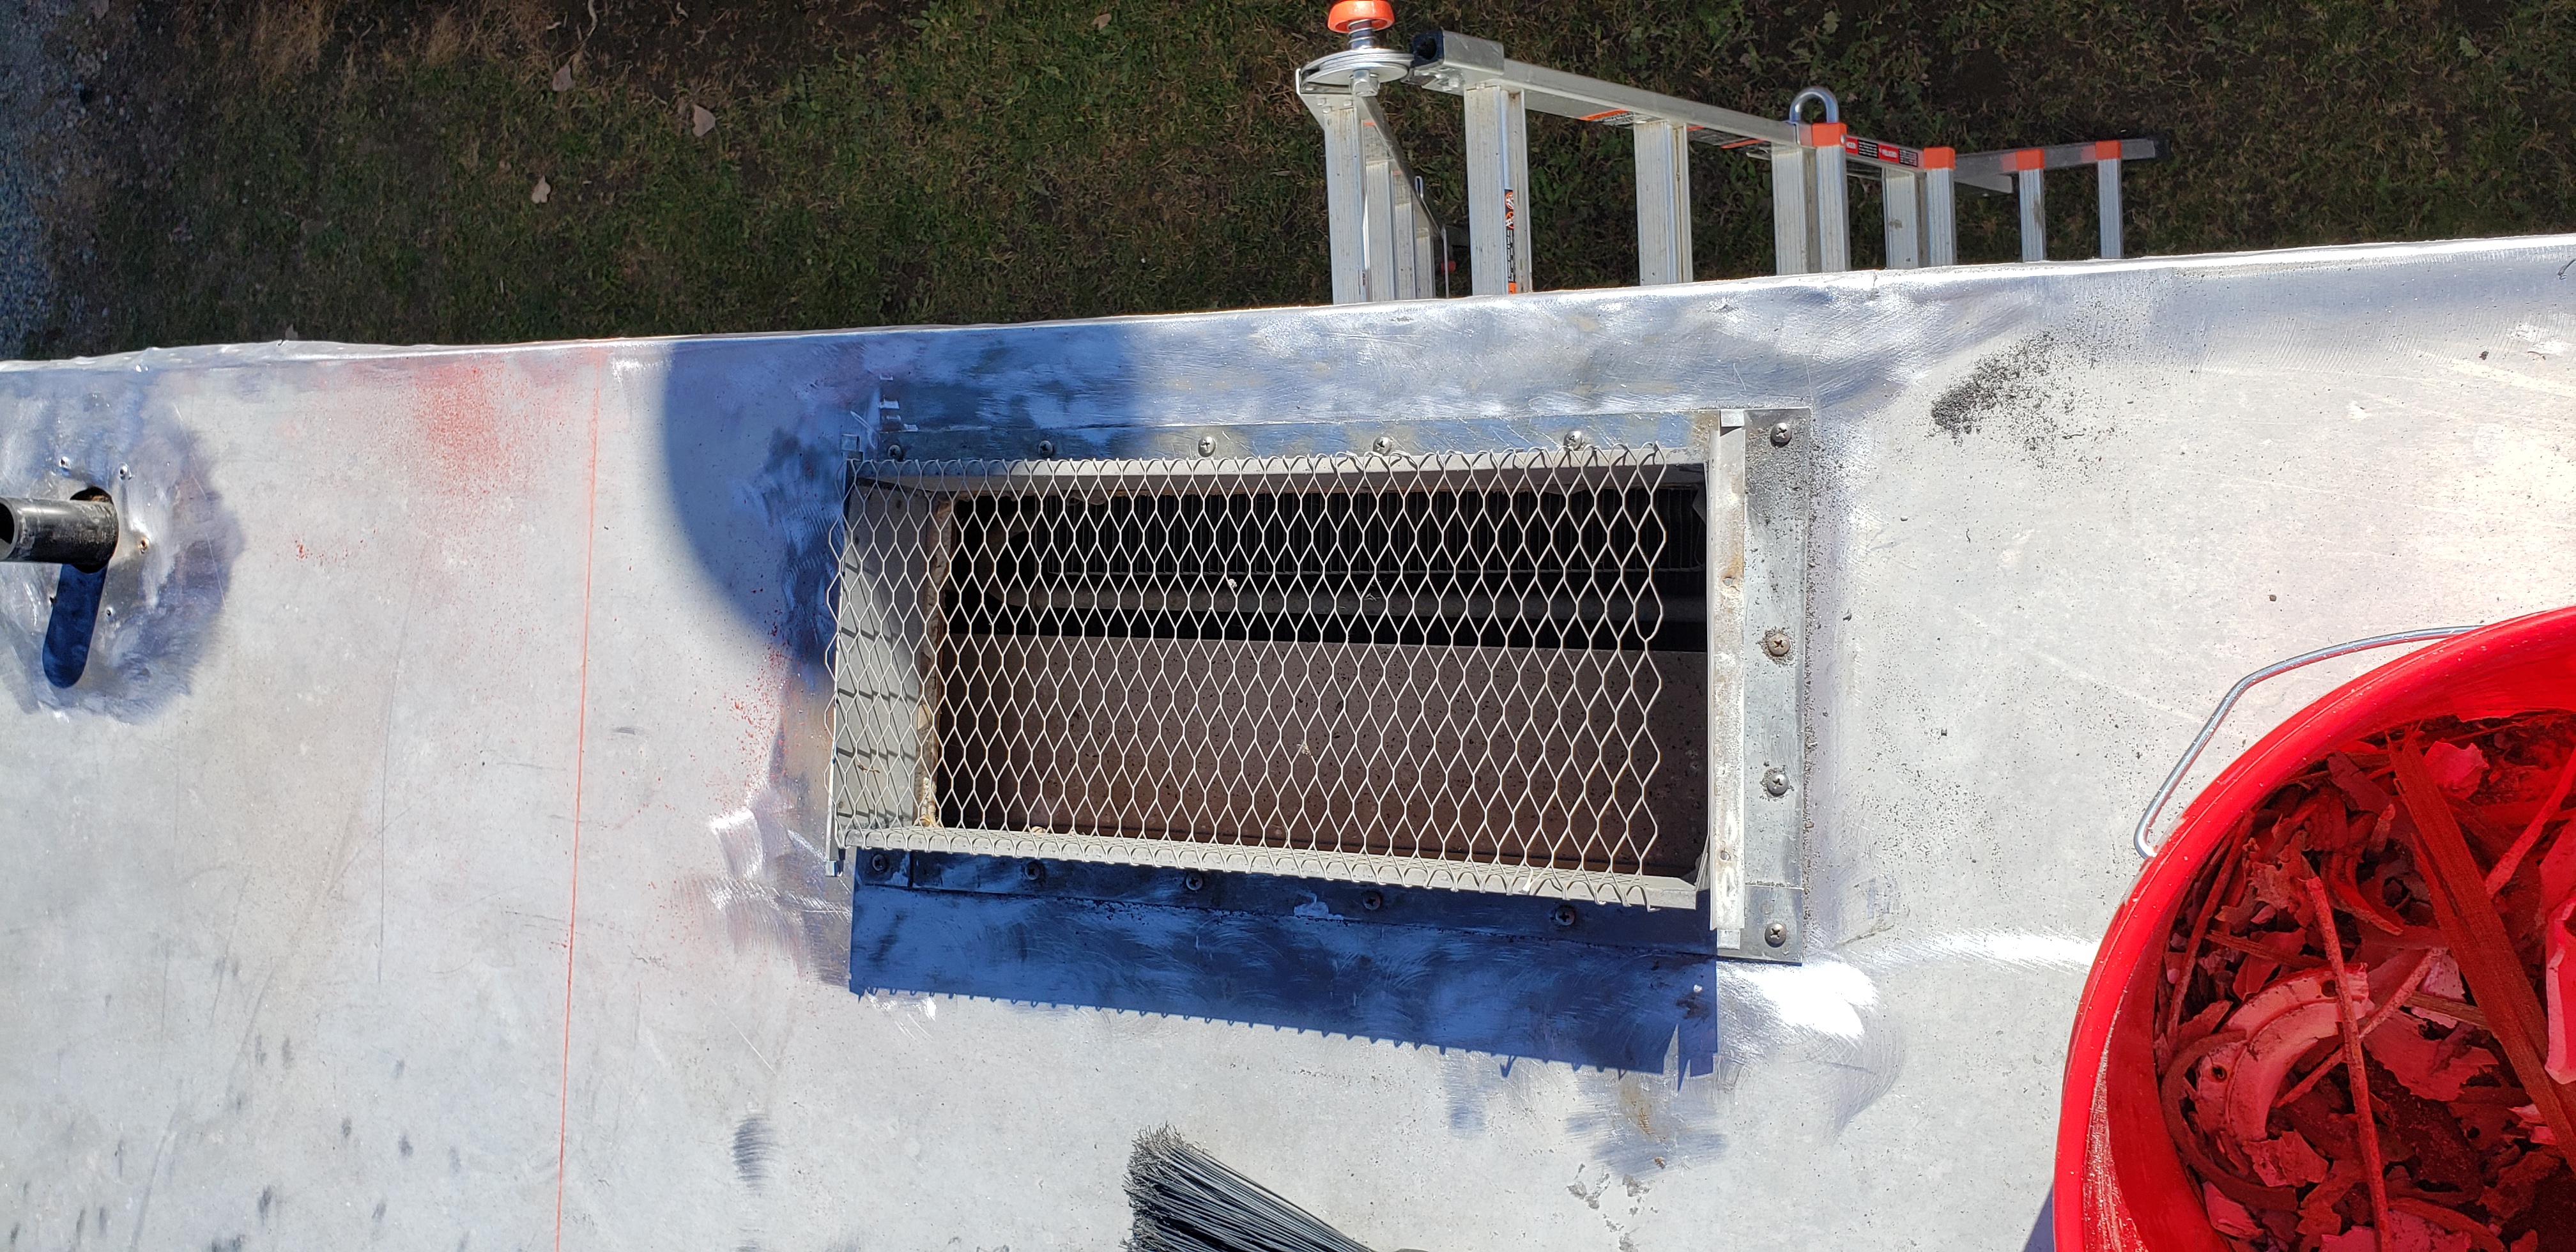
Once we got the sheathing screwed down and secured, we cut out the hole for a vent in place of the original AC unit that caused the roofs demise. I decided that if in fact we do install a new AC unit, I am going to go with a Minisplit instead of a roof top unit.
Now that we had a solid roof, it needs skin.
Sad story, we decided to make a move, and the Winnebago didnt make the cut, its been sold!